FREE SHIPPING ON ORDERS OVER €50

Transfer paper for polymer clay 013

Transfer paper for polymer clay 013

4.50 3.15

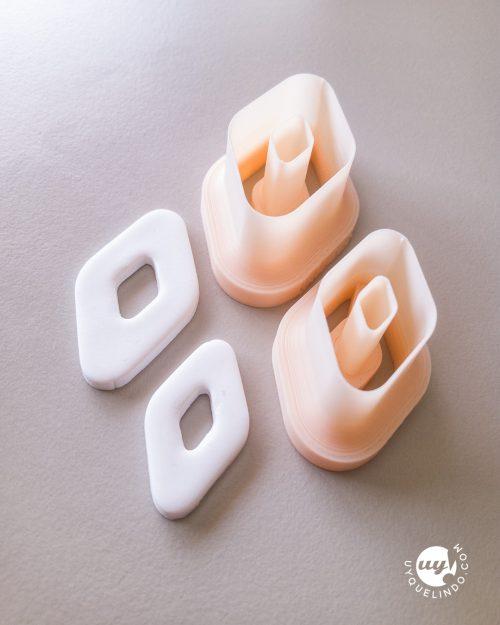
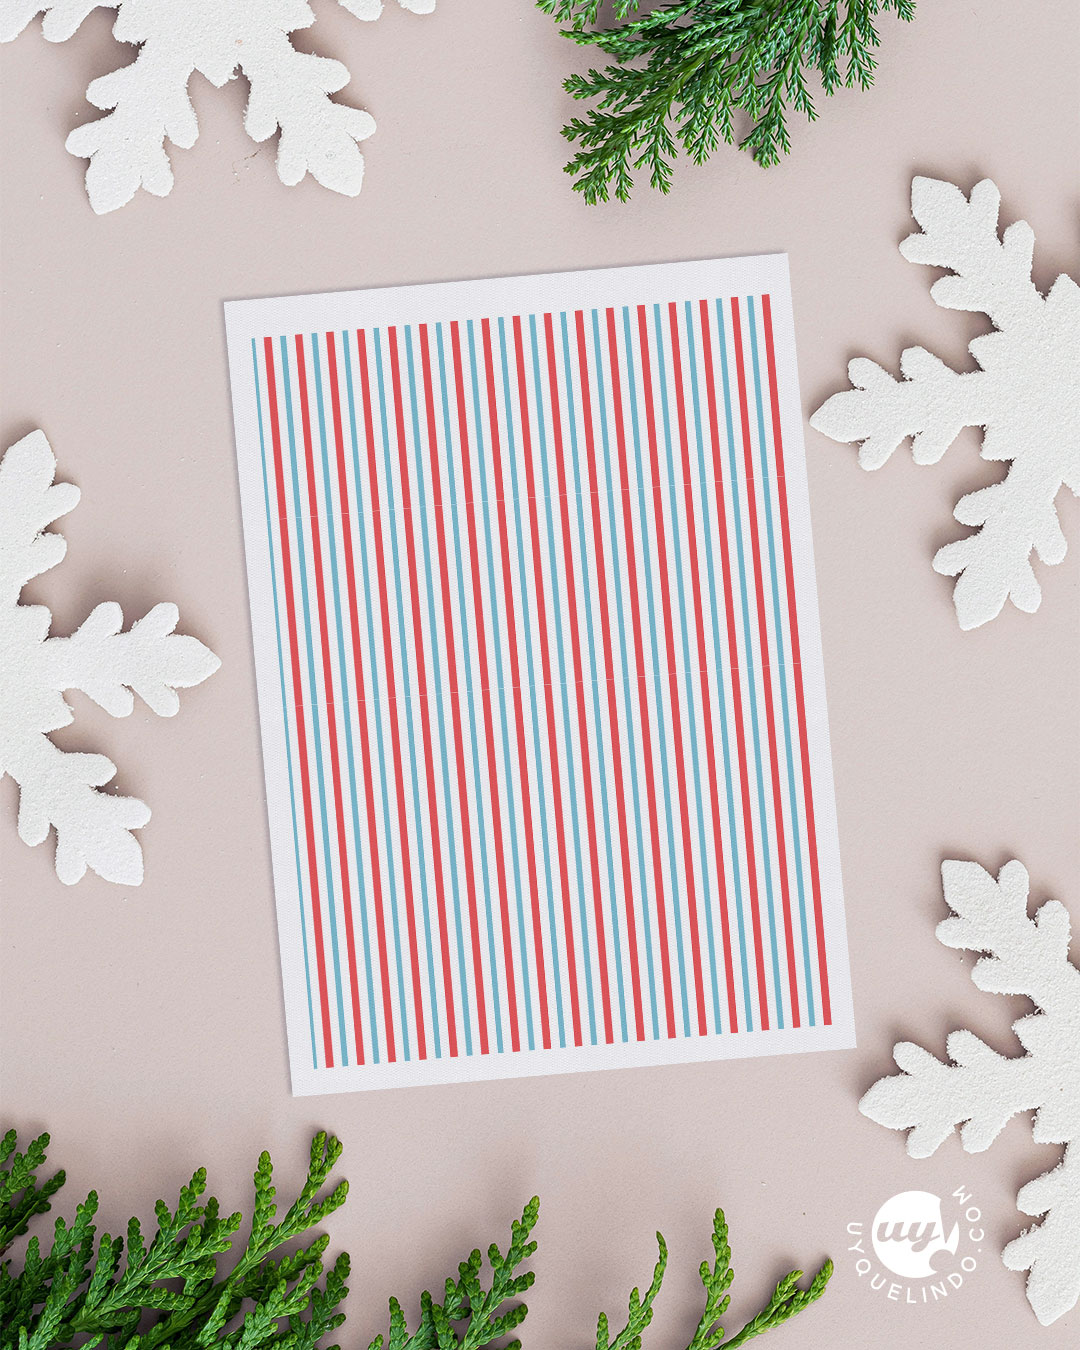
Our transfer paper for polymer clay 013 is perfect for decorating any polymer clay surface prior to baking without the need to apply water or solvents. Each sheet has a printed surface of 98x138mm printed in full color inkjet.

Description

Transfer paper for polymer clay 013

☝️ PLEASE CLICK ON THE INSTRUCTIONS TAB TO LEARN HOW TO USE THIS TECHNIQUE.

Available sizes: TRN XMS013 / 98X138 mm

MATERIAL: Inkjet transfer paper (non-soluble)
TIP: This paper works by direct contact on the surface and does not require water. See the instruction flap for best results.

👁️ The screen image is designed to display the colors of the transfer sheet as accurately as possible. However, shades may vary depending on the device you are using. Also, the colors will change after firing or change slightly depending on the type or color of clay used. The design looks best on white clay.
We do not offer refunds on transfer sheets, but if you have any questions about the process, please do not hesitate to contact us, we will be happy to help you.

Use tips

Este papel de transferencia funciona por contacto directo, sin necesidad de agua. Asegúrate de que la arcilla esté bien acondicionada, suave y húmeda. Usa preferentemente arcilla blanca o de color claro.

care tips

  • No mojes la superficie impresa del papel
  • Voltea el papel de modo que la impresión haga contacto directo con la arcilla y no lo desplaces
  • El color final luego del horneado es nítido y agradable

TRANSFER INSTRUCTIONS

How to apply the transfer technique on polymer clay

TIP: This type of transfer paper works by direct contact with the surface of the clay and does not require water. Follow these steps for best results:

Materials:

  • Polymer clay (preferably white or light colored)
  • UY! transfer paper
  • Roller
  • Aluminum foil
  • UV resin or varnish

Step-by-step instructions:

1. Prepare the clay:

  • Condition the clay well so that it is pliable and moist. Avoid using dry or brittle clay, as moisture is key to a good transfer.

2. Extend the clay:

  • Roll out a sheet of clay to the desired thickness.

3. Place the image:

  • Place the transfer paper, printed side down, on the surface of the clay.

4. Apply pressure:

  • Use a rolling pin to make sure all the paper makes even contact with the clay.
  • Gently rub the surface of the paper so that it adheres well.

5. Let stand:

  • Let the clay rest with the transfer paper attached for 30 minutes.

6. Remove the base paper:

  • After the resting time, the film with the printed image will stick to the clay and the base paper will come off easily.
  • The image may look slightly dull, this is normal. The printed film will melt during firing.

7. Cut the pieces:

  • Cut out the desired pieces with the clay already transferred. You can also pre-cut the clay before applying the transfer to optimize the use of paper.

8. Baking:

  • Bake the pieces according to the clay manufacturer's instructions. Protect the pieces with aluminum foil to prevent damage during baking.
  • When the temperature rises, the image film will fuse with the clay, revealing the intense colors.

9. Finish with a seal:

  • Once out of the oven and when the pieces have cooled, apply UV resin or varnish (in two coats) for a glossy and durable finish.

Additional tip:
For best results, it is crucial to use white or very light colored clay, as the color of the base influences the intensity and clarity of the transferred image.

Shipping and free shipping

Shipments are made through Correos de España. If your shipment exceeds 50 eu, the amount is free.
We will inform you of the tracking number at the time of dispatch.

Reviews

There are no reviews yet.

Only logged in customers who have purchased this product may leave a review.

Go to Top