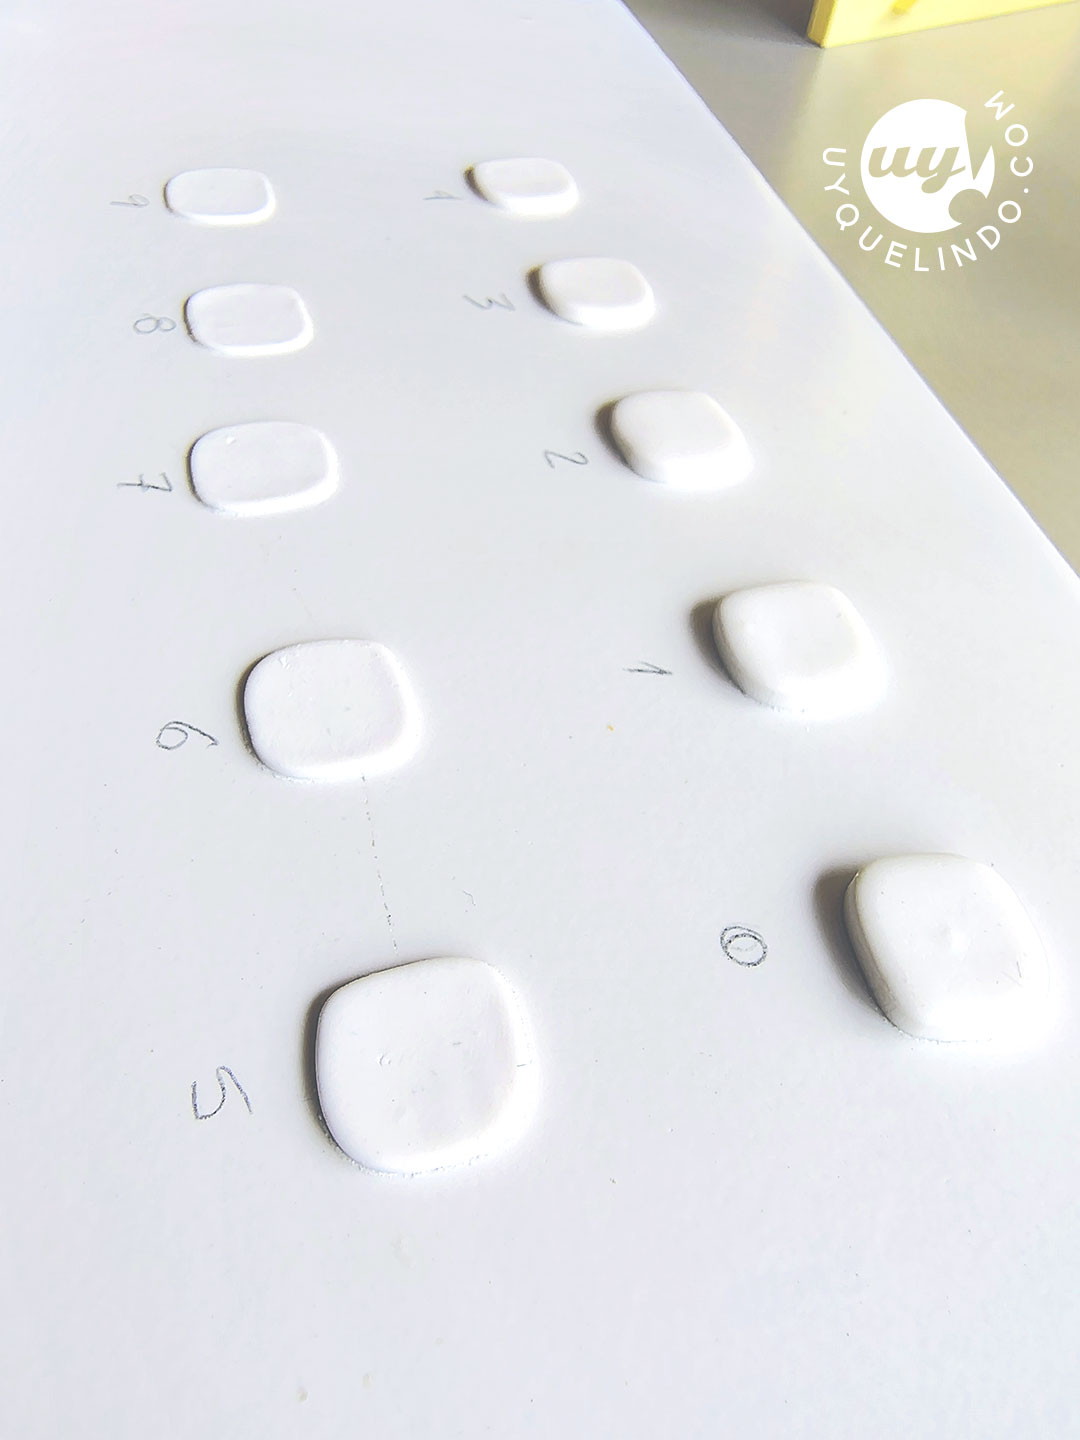
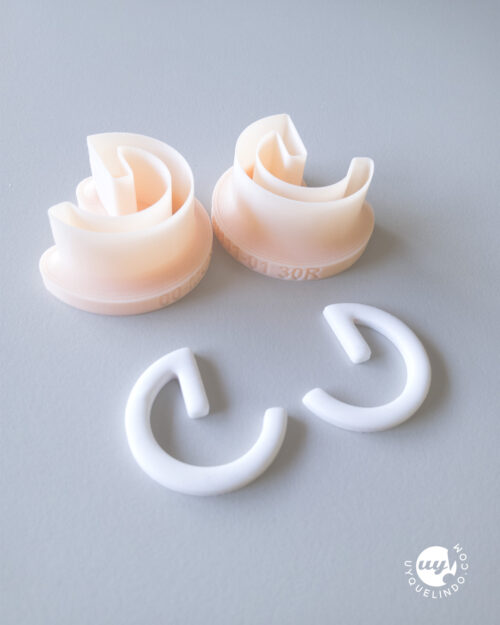
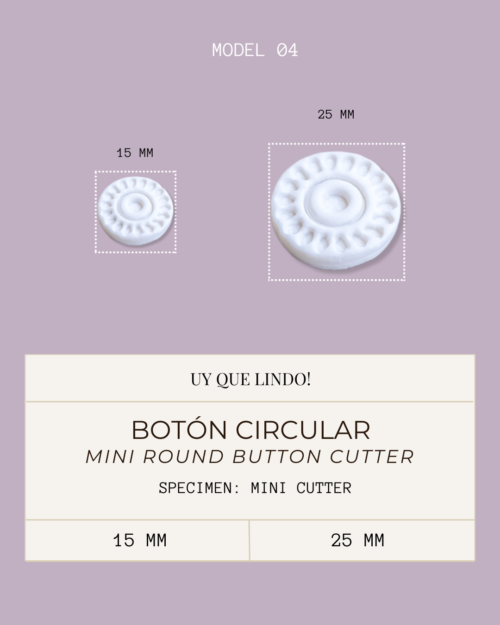
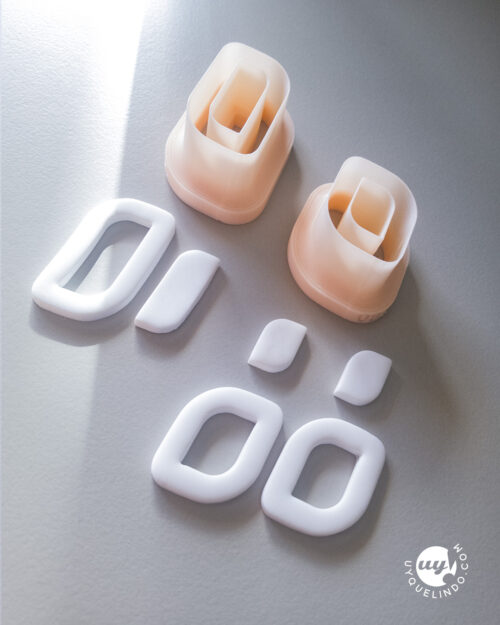
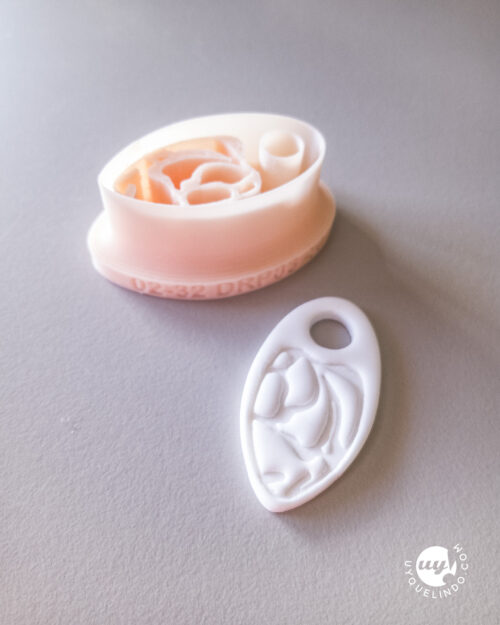
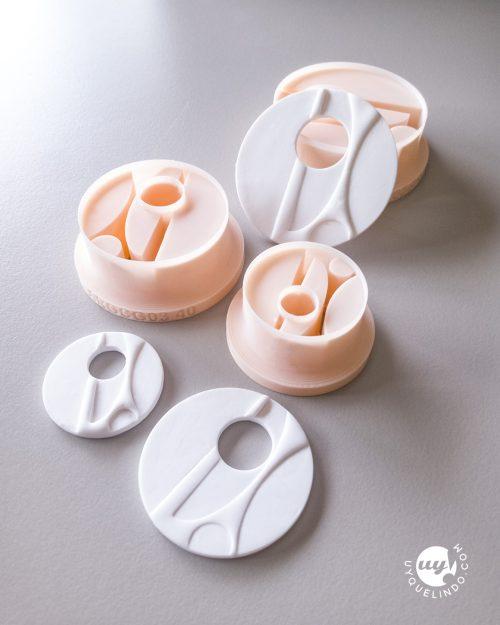
This happens with cutters made without specific knowledge of 3D tool design or moldable materials. A properly designed cutter has sharp edges that leave no residue or only a minimal one. These are delicate tools and require proper care. If you choose low-quality cutters, your post-processing work (sanding and polishing) will be much greater, and in some cases, even after sanding, you may still end up with uneven and unprofessional edges. Choose high-quality cutters that will last longer and deliver better results.
The thicker the piece, the more time it may need in the oven to fully cure. Thin pieces can be baked with less risk of bubbles or cracks but should be handled carefully to avoid breaking after baking. For thin pieces placed on a tile and covered with foil, you can lower the temperature and bake for a longer time.
Yes, thicker clay requires more pressure for a clean cut. This is especially important when working with ceramics (clay), as the material is thicker and more resistant. We can adapt any of our models for this purpose and create a custom cutter for you.
For thin thicknesses, it is best to apply even pressure and remove the cutter carefully to avoid deformations.
In all cases, by applying even pressure with an acrylic or wooden piece, you will achieve an effective cutting and stamping process while reducing strain on your hand joints.
Thicker pieces tend to be more resistant but also heavier. In very thin pieces (less than 2 mm), the risk of breakage increases if they are not baked properly or subjected to pressure. Well-conditioned and properly baked clay achieves flexibility in thinner sheets without breaking.
Yes, especially those with relief. A stamper can compress and displace the clay, slightly reducing the final thickness or raising the surface to varying degrees. In such cases, it's recommended to start with a thickness greater than the desired one to compensate for the compression, or conduct tests with different thicknesses until the desired result is achieved.
Los cortadores-estampadores que consigues en el mercado están usualmente preparados para cortar y estampar de 3 a 4 mm, pero en espesores muy delgados (2 mm) obtendrás una estampa poco definida. Nosotros ofrecemos cortadores-estampadores adaptados a los espesores más delicados (CORTE FINO a partir de 2,5mm) o con las medidas tradicionales (REGULAR a partir de 3mm). Elige tu favorito al momento de comprar y consúltanos si tienes dudas al respecto.
It’s important that the clay is well-conditioned for fine cuts (not sticky, with the right consistency and flexibility). You should also roll it out on a smooth surface to prevent it from sticking or deforming when cutting.
Depende de la marca de la máquina pero en líneas generales es el 2. Recomendamos hacer pruebas propias y medir con calibre una vez que la pieza esté cocida, pues cada máquina puede variar ligeramente.
Between 2 and 2.5 mm. This thickness maintains the lightness without compromising the strength of the piece.
It depends on the final use of the piece:
Lightweight earrings: 2-2.5 mm
Regular earrings, dangles, or structural pieces: 3-4 mm
Broch bases: 3-4 mm or even thicker if rigidity is needed or if your design explores volume and depth.
If you're using a pasta machine, check the thickness table according to the brand.
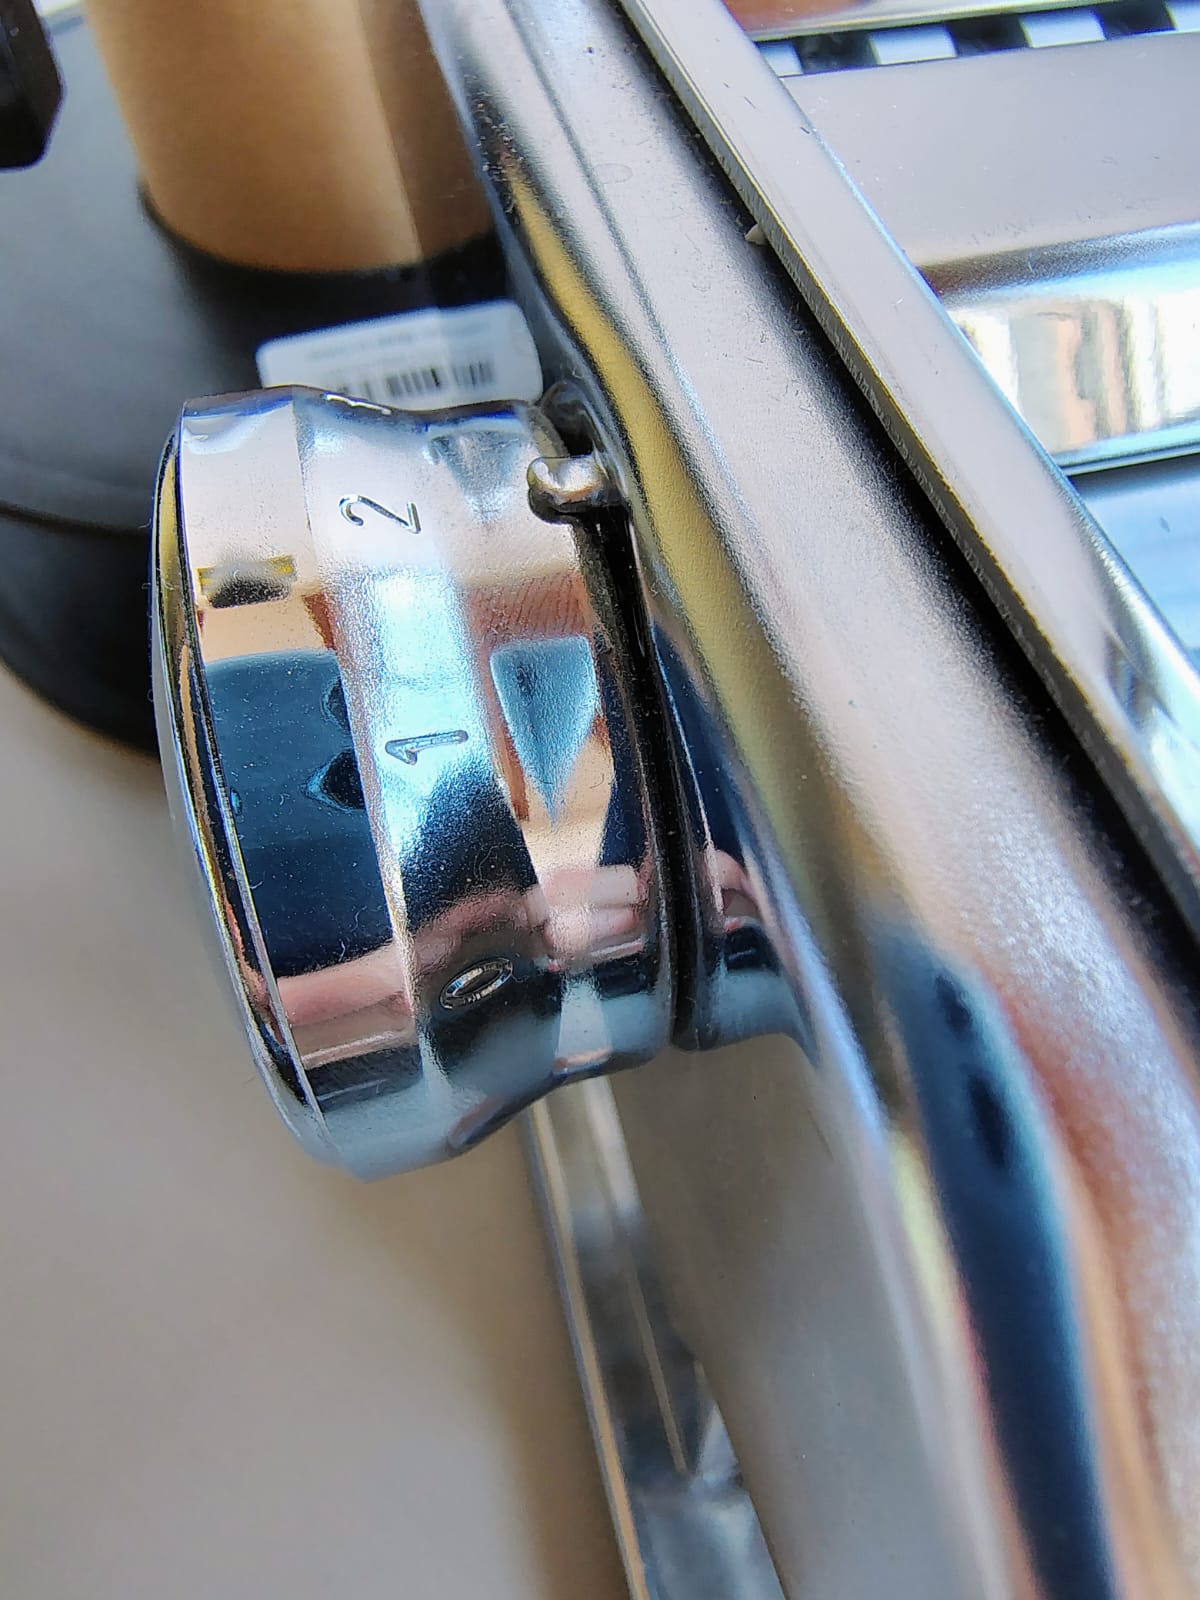
What thickness corresponds to each setting on my pasta machine?
Thickness may vary depending on the brand, but here’s a reference based on the most popular models.
Are these measurements exact?
Not always. Each model and brand may have slight differences. As you’ll see in the table, some machines have an inverse numbering system for thickness settings.
IMPORTANT
The measurements published in the tables are those provided by manufacturers for edible pasta, but polymer clay has a different resistance. Its behavior when passing through the machine may result in variations in actual thickness.
For a precise measurement, we recommend using a caliper to measure a clay sheet after cutting, baking, and rolling it through each setting. We have tested this ourselves using the Ampiamotor model from Marcato, obtaining real results that can be used as a reference. Keep in mind that clay slightly shrinks when baked due to moisture loss.
Additionally, embossing cutters compress and shift the clay, which may create areas with increased thickness. The best approach is to experiment and find the volume relationship that best suits your final design.
These are the values published by the manufacturers.
| Setting | Marcato (Ampiamotor, Atlas 150, etc.) | Imperia | Sculpey | Standard budget-friendly machine |
|---|---|---|---|---|
| 0 | 4.8 mm | – | 3.9 mm | 4.8 mm |
| 1 | 3.7 mm | 0.6 mm | 3.2 mm | 3.8mm |
| 2 | 3.1 mm | 1.2 mm | 2.8 mm | 3.3 mm |
| 3 | 2.4 mm | 1.8 mm | 2.3 mm | 2.5mm |
| 4 | 1.8 mm | 2.4 mm | 1.9 mm | 1.9 mm |
| 5 | 1.5 mm | 3 mm | 1.5 mm | 1.5 mm |
| 6 | 1.2 mm | 4 mm | 1.2 mm | 1.2 mm |
| 7 | 1 mm | – | 1 mm | 1 mm |
| 8 | 0.8 mm | – | 0.8 mm | 0.8 mm |
| 9 | 0.6 mm | – | 0.6 mm | – |
This is the result of our experience using the Marcato Ampiamotor model.
After conditioning, cutting, and baking each piece.
| Setting | Marcato Ampiamotor |
|---|---|
| 0 | 3.20 mm |
| 1 | 2.90 mm |
| 2 | 2.60 mm |
| 3 | 1.95 mm |
| 4 | 1.75 mm |
| 5 | 1.40 mm |
| 6 | 1.15 mm |
| 7 | 0.80 mm |
| 8 | 0.75 mm |
| 9 | 0.70 mm |
Translucent polymer clay can be baked multiple times without issue, as long as you follow a few key recommendations.
This type of clay fully cures in the oven at temperatures between 110°C and 130°C, depending on the brand. If you need to add details, colors, or correct parts after the first bake, you can bake the piece again. It’s important not to exceed the recommended temperature, as overheating can cause the translucent clay to yellow or degrade.
Tips to avoid problems:
- Heat distribution: Cover the pieces with aluminum foil to better distribute the heat and avoid direct contact with the oven’s heat.
- Temperature control: Use an oven thermometer to ensure the temperature is accurate since household ovens can be inconsistent.
- Multiple baking: If baking several times, reduce the baking time in later stages. Once the base is cured, a few additional minutes should be enough to harden added details. For example, bake the base for 30 minutes and added elements for 15 minutes more.
- Avoid internal bubbles: These form when the clay heats too quickly. To avoid this, lower the temperature slightly and bake for a longer time, especially with thicker pieces.
✍️ Recommendation: Always document your experiments with times and temperatures to learn and improve with each project.
- Two articles by Phyllis Cahill:Well-documented, explaining how to avoid “plaquing”in translucent clay and her experience with a second bake.
- Ginger Davis Allman’s article:Details the properties and differences between various brands of translucent clay,while offering practical solutions to common problems.
These experts provide valuable insights into advanced techniques and polymer clay baking.
Special thanks to Inma for adding this question.
The properties of polymer clay allow you to work on a very detailed project in stages without the need to fire the pieces immediately, as the clay requires firing to consolidate its components.
If you need to fire your pieces at a later time, cover them with cling film or store them in a container where lint will not come in contact with the surface. Another way to protect them is to brush them with a little cornstarch to prevent other particles from sticking to them and then cover them. Before baking you can remove the excess. You can also place aluminum foil trays that you can then take to the oven, as they will help the temperature to be evenly distributed.
Si necesitas cocer tus piezas en otro momento, cúbrelas con film de cocina o guárdalas en un recipiente en donde la pelusa no entre en contacto con la superficie. Otra forma de protegerlas es pasar una brocha con un poco de almidón de maiz para que no se adhieran otras partículas y luego cubrir. Antes de hornear puedes retirar el exceso. También colocar bandejas de papel de aluminio que luego puedas llevar al horno, pues facilitarán que la temperatura se distribuya uniformemente.
Este fenómeno denominado «plaquing» ocurre por reacciones no uniformes de desprendimiento de gases durante la cocción de la arcilla que tiene relación con los cambios bruscos de temperatura. Estos vapores o gases forman una burbuja plana en la cara de las piezas que está en contacto con el azulejo.
To avoid its formation you can take the following precautions:
1) Condition the clay slab well, spread it on the tile avoiding encapsulating the air.
2) Slide a rolling pin over the dough before cutting.
3) Preheat the oven
4) When placing the pieces in the oven, protect them with an aluminum tray to distribute the heat indirectly.
5) Bake twice: once for the time recommended by the manufacturer, cool and return to the oven for an additional 10 minutes.
While these recommendations will help reduce air plates, they will not completely eliminate them. To remove them from your pieces, use different grades of sandpaper and acetone soaked in a microfiber cloth.
You can also work the back of your pieces with different textures that will help to obtain a more professional finish.
Use zipper-type bags that allow you to give it a first protection from dust and dryness. Use external labels to identify colors. Do not expose it to sunlight or excessive heat.
To smooth or remove small marks that may be left on polymer clay from tools or fingers, we have found that the best method is to use a microfiber cloth dipped in a fast evaporating solvent such as acetone. Wear a mask to protect yourself. You can use it before baking and afterwards too. Acetone can dull micropigment dyes like mica and all metallics.
Also, it is possible to sand the pieces once the clay is fully hardened. It is recommended to use soft grain sandpaper and always work with water to obtain better results. This method is especially useful for cleaning up the back of your earrings or charms.
When you open a new package of clay, or it's summer and temperatures fluctuate, polymer clay can become too white to work with (cuts poorly, fingerprints, warps when moved to the cooktop). In that case you can stretch it out in the usual way and park it between two sheets of common white paper. The paper will absorb the surplus of solvents and will take the necessary body to work. Another resource is to refrigerate it for a while before working or once extended, before cutting.
A still raw piece can deteriorate. A fired piece will not dissolve or alter unless the piece is submerged for long periods of time in high-temperature water. In any case, you can moisten a surface to apply transfers since it is a momentary exposure that you will dry in a prudent time. Transfers are made with special transfer papers.
If what you need is to soften a dry and hard clay, you must use specific solvents for polymer clay, in drops that you will add according to the amount of clay to soften, and interspersed with the use of the rollers so that these solvents integrate well into the clay. mass. This process will recondition the material.
On the other hand, if what you want is to preserve your piece from water or friction because you have painted it or applied volatile powders, you can use self-leveling varnishes that seal your material, or epoxy or UV resins, the latter being the most easily manipulated. as components or cured.
Various scenarios can occur: gluing unfired pieces, gluing fired pieces, gluing pieces together or with other elements of different materials.
There are translucent liquid clays on the market that work as a glue for both raw and fired pieces. To have adherence they must be cooked. There is no problem refiring an already cured piece when adding adhered details such as decorations and any beads or beads that will withstand firing under polymer clay conditions.
You can then use other glues to join pieces together like high tack super glues that work right out of the box. This is traditional for positioning earring posts, prior to sealing with resin. A quick glue allows you to affirm the piece that you then cover with resin for a more professional finish.
polymer clay jewelry
polymer clay beads
polymer clay necklaces
polymer clay bangles
polymer clay rings
polymer clay figures
polymer clay earrings
Christmas pendants of polymer clay
polymer clay keychains
polymer clay hair clips
Personalized polymer clay decorations and gifts
polymer clay miniatures
No, the traditional brands on the market work perfectly, but each of them has options related to the finish: matte, translucent, porcelain-like, satin, with additions to give them texture or shine, solid or liquid. Liquid polymer clays can be applied to other pieces with a brush or fired in silicone baking molds with specific jewelry shapes and obtain different pieces. It is used as an adhesive or to soften normal clay, to soften it and make it more modelable, also to give translucent layers or finishes that simulate enameling.
- Knead the clay well before you start working with it. This will help smooth it out and remove any air pockets that could cause it to break. If the air pockets do not dissipate, puncture them with a pointed tool and roll them back through the rollers. This will remove any trapped air.
- Be sure to follow the manufacturer's cooking instructions. Proper baking is crucial to the strength and durability of polymer clay. Make sure not to under or over expose it to the oven. A polymer clay can be baked for up to 45 minutes without burning, increasing the flexibility of the piece, as long as the temperature is within the range suggested by the retailer.
- Make sure you are working with a good quality clay. When choosing a polymer clay, opt for well-known and trusted brands that offer good elasticity and strength.
Recommended time and temperature values may vary depending on the type of polymer clay used. Typically, temperatures range from 230°F to 266°F (110°C to 130°C), and cooking times range from 15 to 45 minutes. It is important to follow the specific recommendations of the manufacturer of the clay you are using, as each brand may have different requirements. It is important to take into account the thickness of the piece and the precise temperature of our oven. Usually, the cooking time is usually 30 minutes. However, if we exceed the cooking time, the piece may darken or lose color. In case you have mixed brands or types of clay, it is advisable to use the longest cooking time among all the brands.
By stretching the clay mass on a tile you offer a flat and stable surface to work on. Air bubbles on the back fade or disappear completely. The tile distributes heat evenly during cooking, preventing the piece from warping. Also, by covering the tile with foil, the top heat is redistributed evenly to all the pieces in the bake.
If you will only use contour cutters any thickness is possible. For the cutters that stamp at the same time, a thickness of 3 to 4 mm is recommended. This thickness makes it possible to obtain firm pieces with good details, without being too thin and fragile. You can also use two-piece combo cutters, where the stamping is done by a stamp that matches the cutter.
The use of a motorized pasta machine facilitates the stretching process, since the machine performs the work faster and more efficiently, your joints do not suffer. In addition, it provides a uniform thickness throughout the mass, which guarantees a homogeneous result in your projects. The motors of these machines are noisy, use noise cancellers or headphones to attenuate it. You can use the conventional pasta machine with a motor from 100 euros to specific machines for polymer clay when you make large quantities of pieces. These machines have a considerable cost.
You can use a roller and guides or with a pasta machine. Both options are valid and depend on your preferences and availability of tools. The roller with guides allows you to control the thickness of the dough more precisely, while the pasta machine offers an even stretch and saves time and effort.
Our cutters have been made with premium materials and are reviewed and optimized for use. However some intricate designs require tricks to facilitate optimal printing and cutting:
- Corn or rice flour: Sprinkle a small amount of corn or rice flour over the clay dough and along the edges of the cutter before using it. This reduces friction and prevents the cutter from sticking to the surface of the clay.
- Even pressure roller: Use a roller of adequate thickness to ensure even pressure on the cutter. By applying even pressure, it prevents the cutter from binding and results in cleaner, more precise cuts.
- 3-stage cut: Performs the cut in three stages. First, score the outline of the cutter on the dough without pressing too hard. Then, apply moderate pressure to stamp the cutter details. Finally, completely cut through the piece using firm pressure. This method helps prevent cutter sticking and allows details to show up properly.
Do not expose them to heat, direct sunlight or wash them in the dishwasher, since the polymer does not withstand high temperatures. It is also recommended to clean the cutters before and after use to maintain their quality and prolong their life.
Polymer clay cutters can be easily cleaned with warm soapy water, soft brushes, or dampened hand towels.
Yes, polymer clay cutters can also be used with other materials such as modeling dough, fondant or ceramic clay. This makes them versatile tools for different creative projects.
To use the polymer clay cutters, simply place the cutter on the sheet of clay and press down to cut out the desired shape. You can repeat this process to create multiple shapes.
Using polymer clay cutters provides more precise and consistent results compared to cutting by hand. In addition, the cutters make the process easier and save time by producing consistent shapes quickly and efficiently.
Polymer clay cutters are available in a variety of sizes, from small detail cutters to larger cutters for larger pieces.
Polymer clay cutters are tools used to cut precise shapes and designs into polymer clay, which can then be used to create jewelry, ornaments, and other craft projects.
These are the frequently asked questions about the use of polymer clay that we are asked on a daily basis. Tell us yours by completing the form at the bottom of the page, and we will accumulate the answers here! The information we ask for is only to thank who makes us their contribution. We do not subscribe to any list from here.


