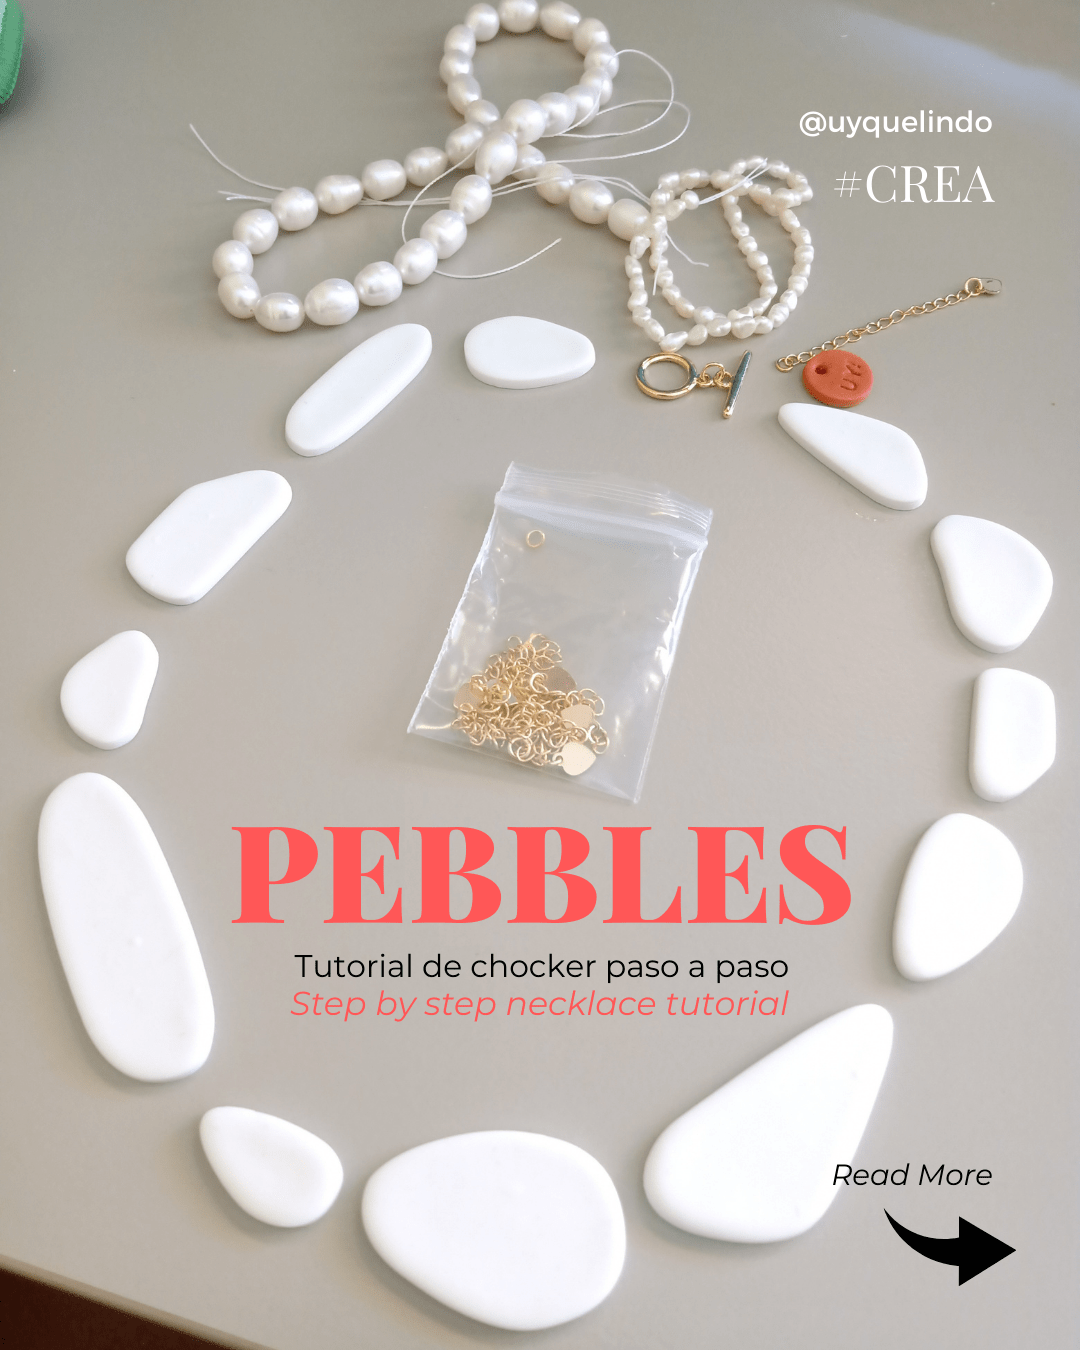
I've decided I'd better leave the Pebbles necklace tutorial here. Let's read on!
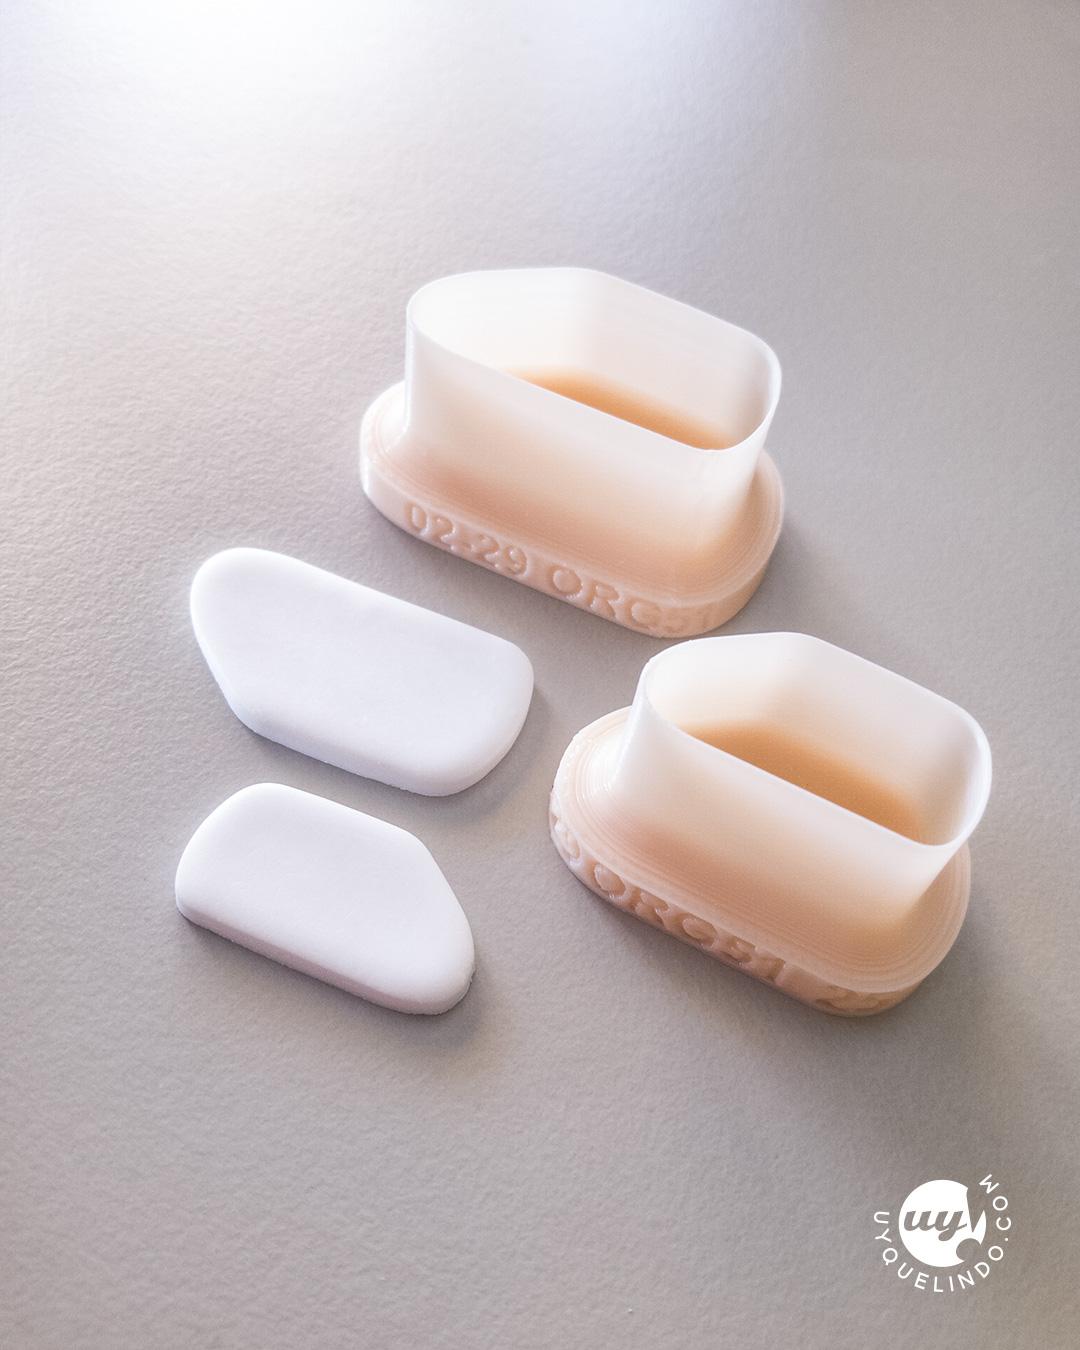
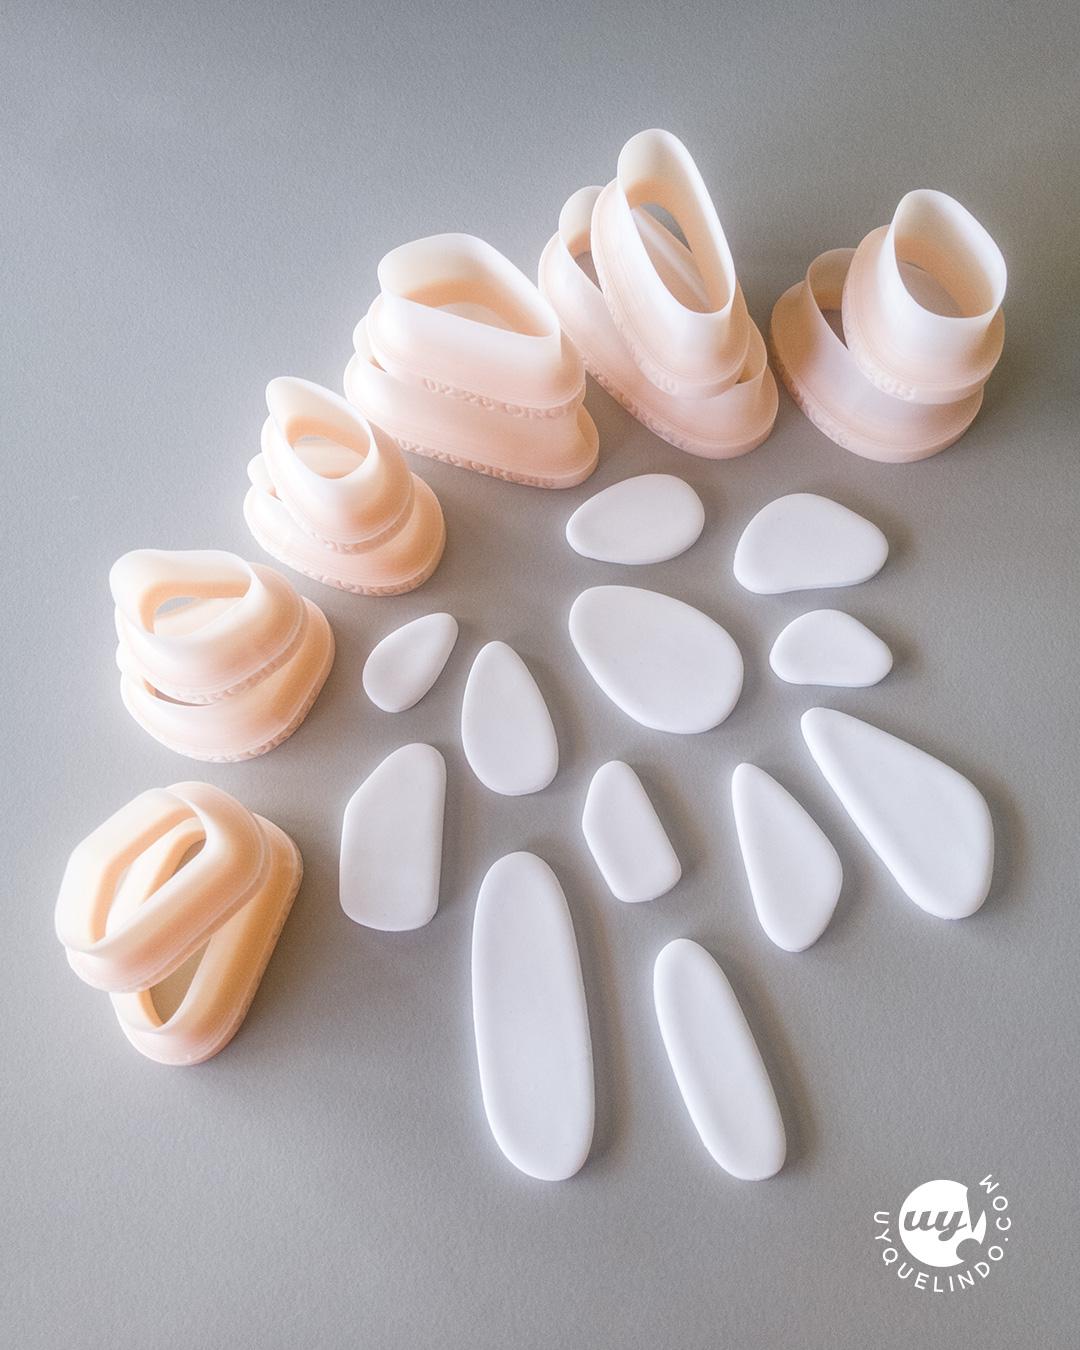
1) I used #Cernit brand white clay as I love the sheer, barely satin finish it has.
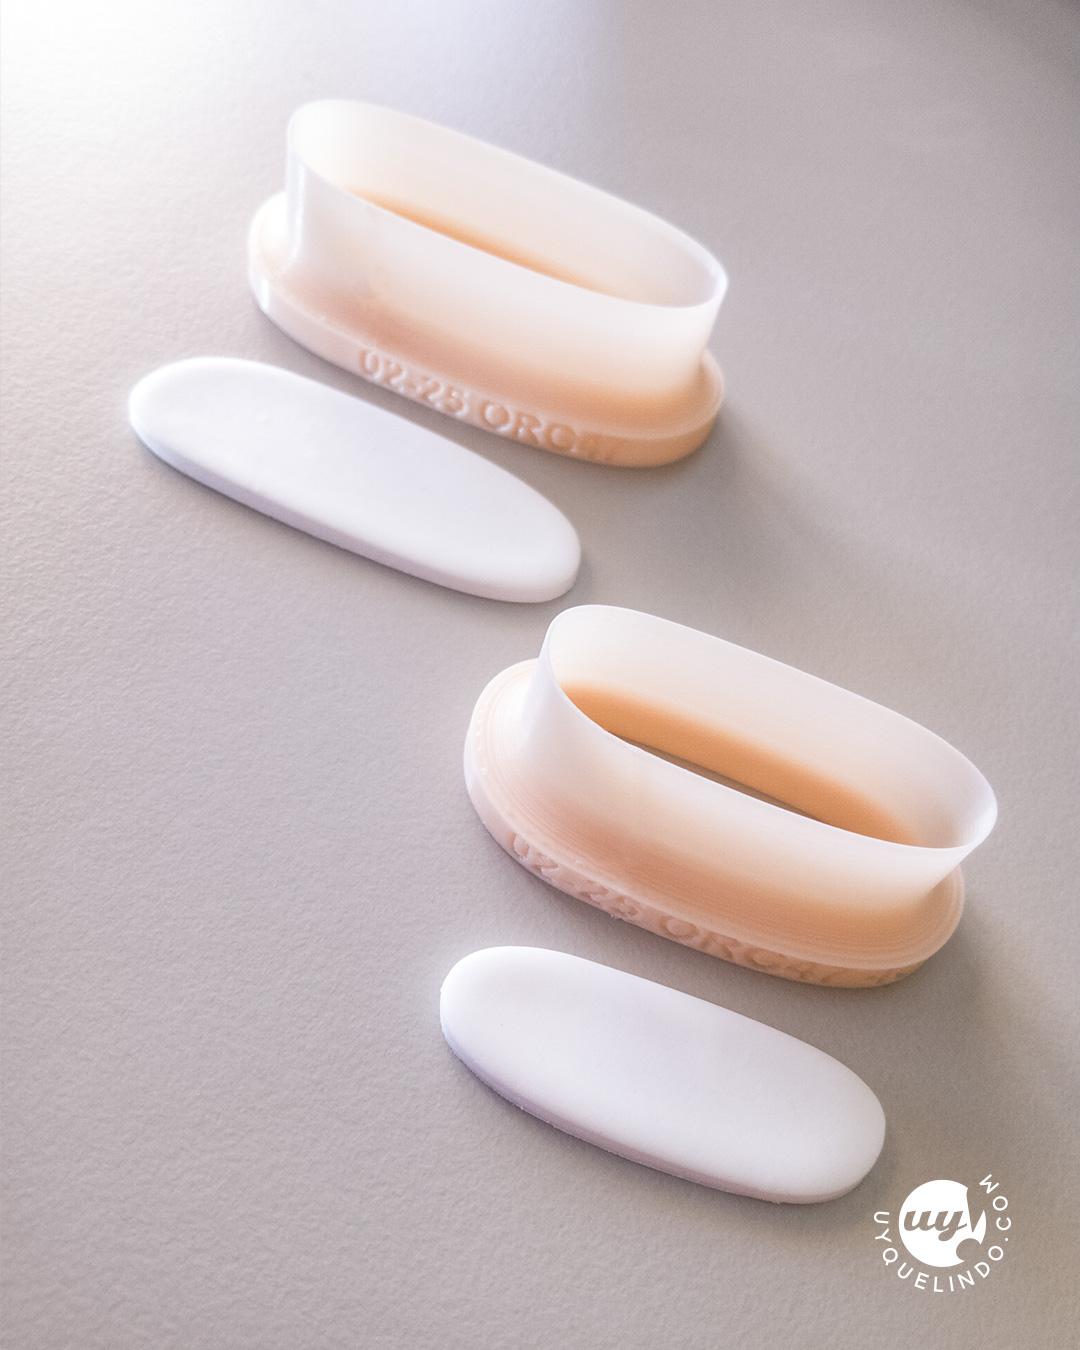
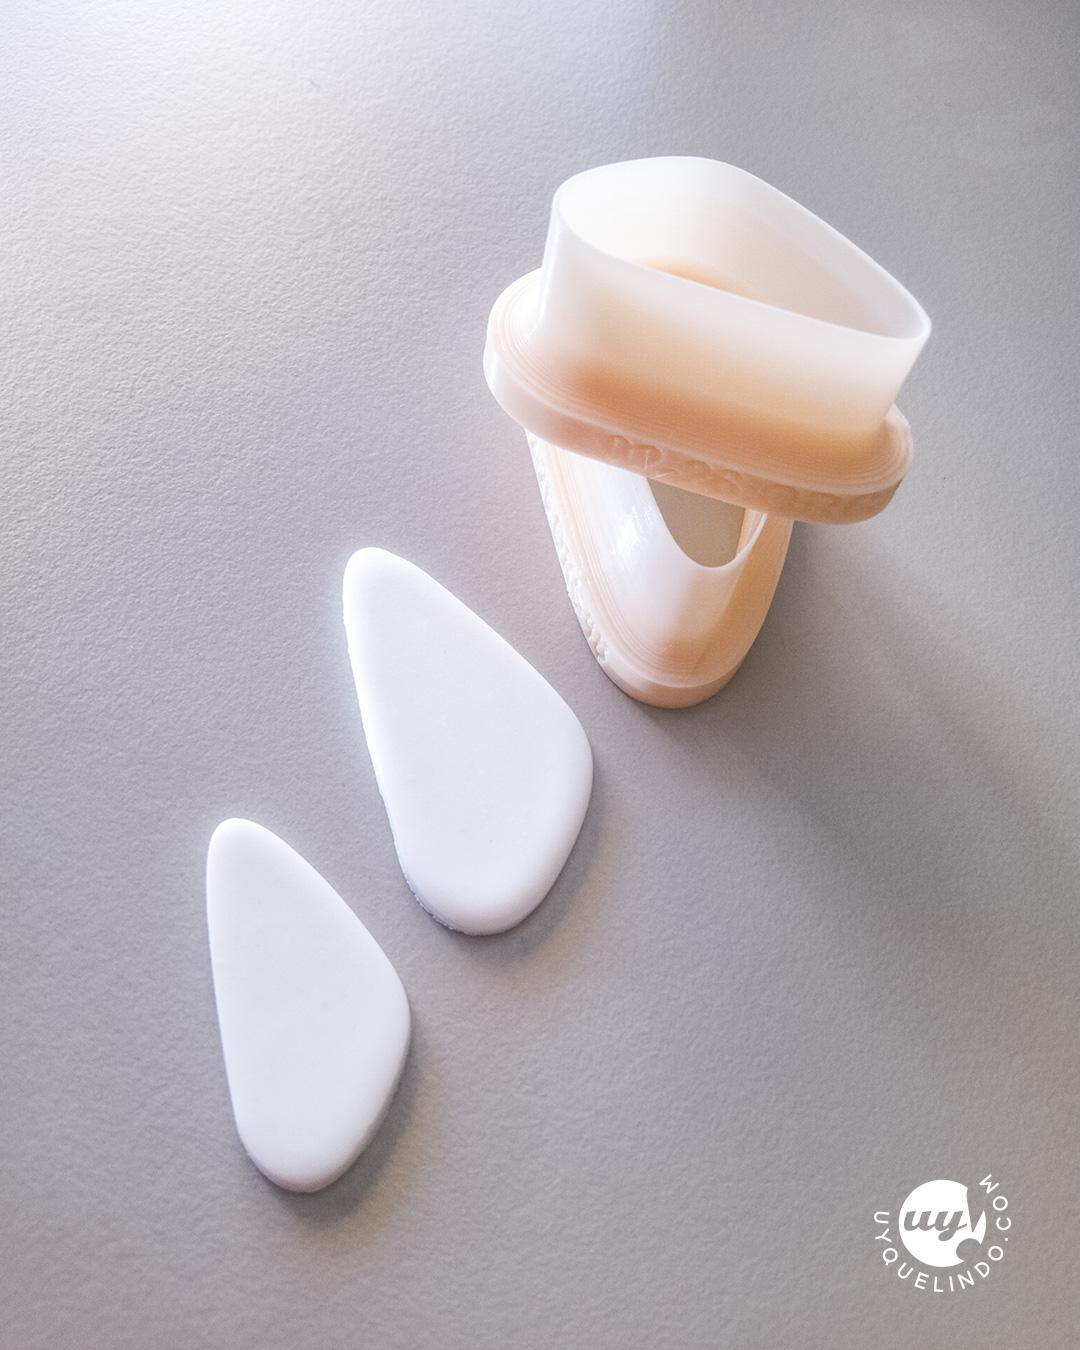
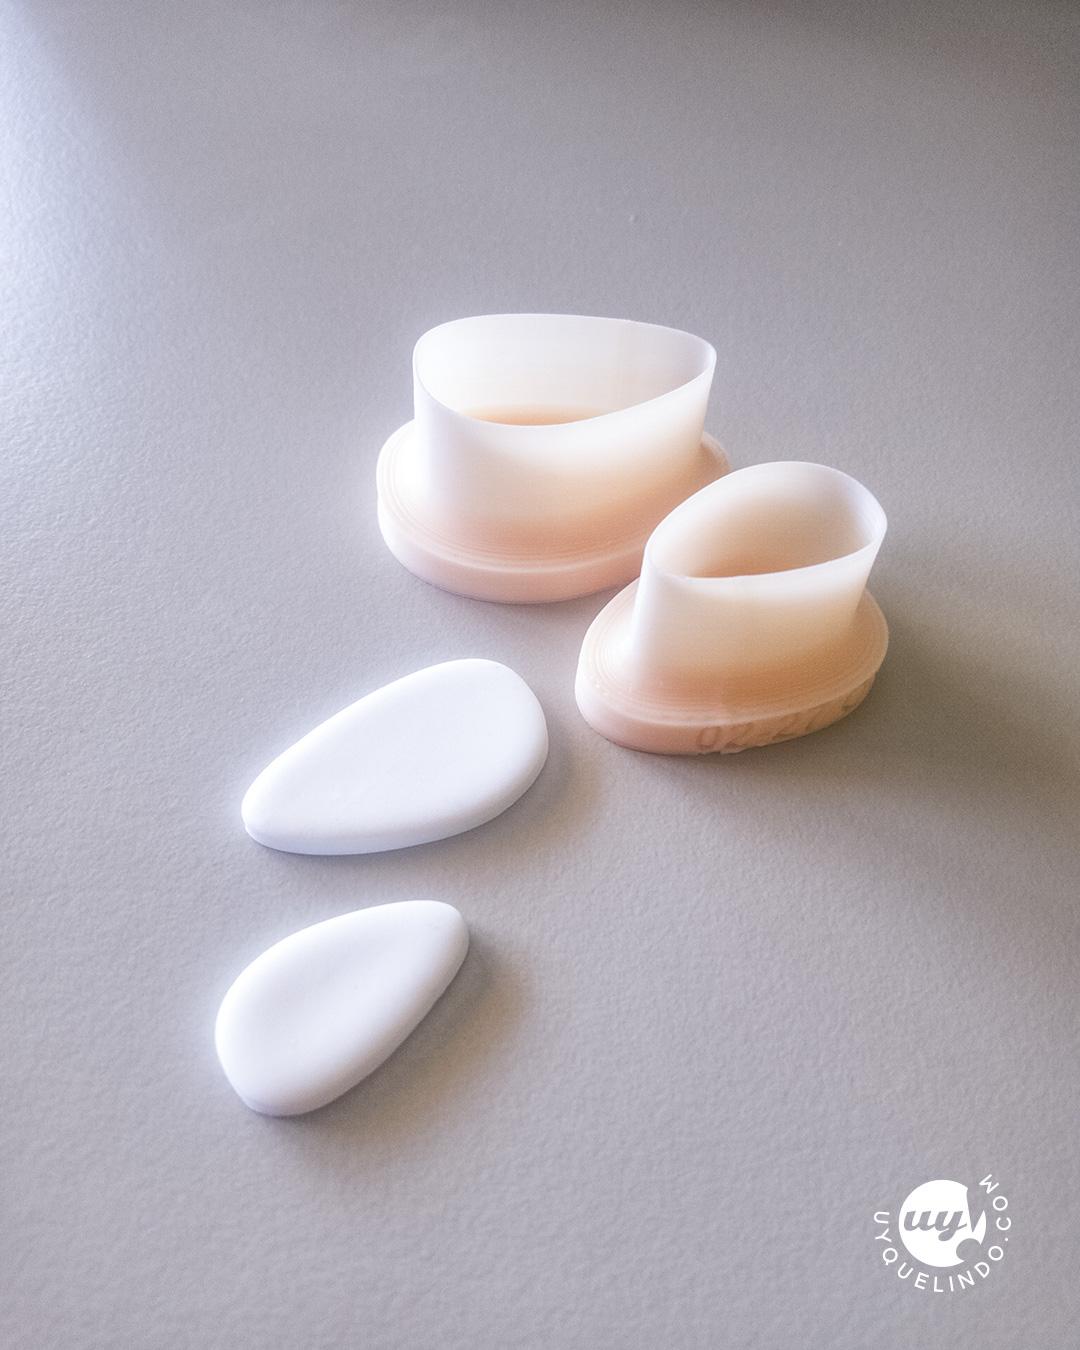
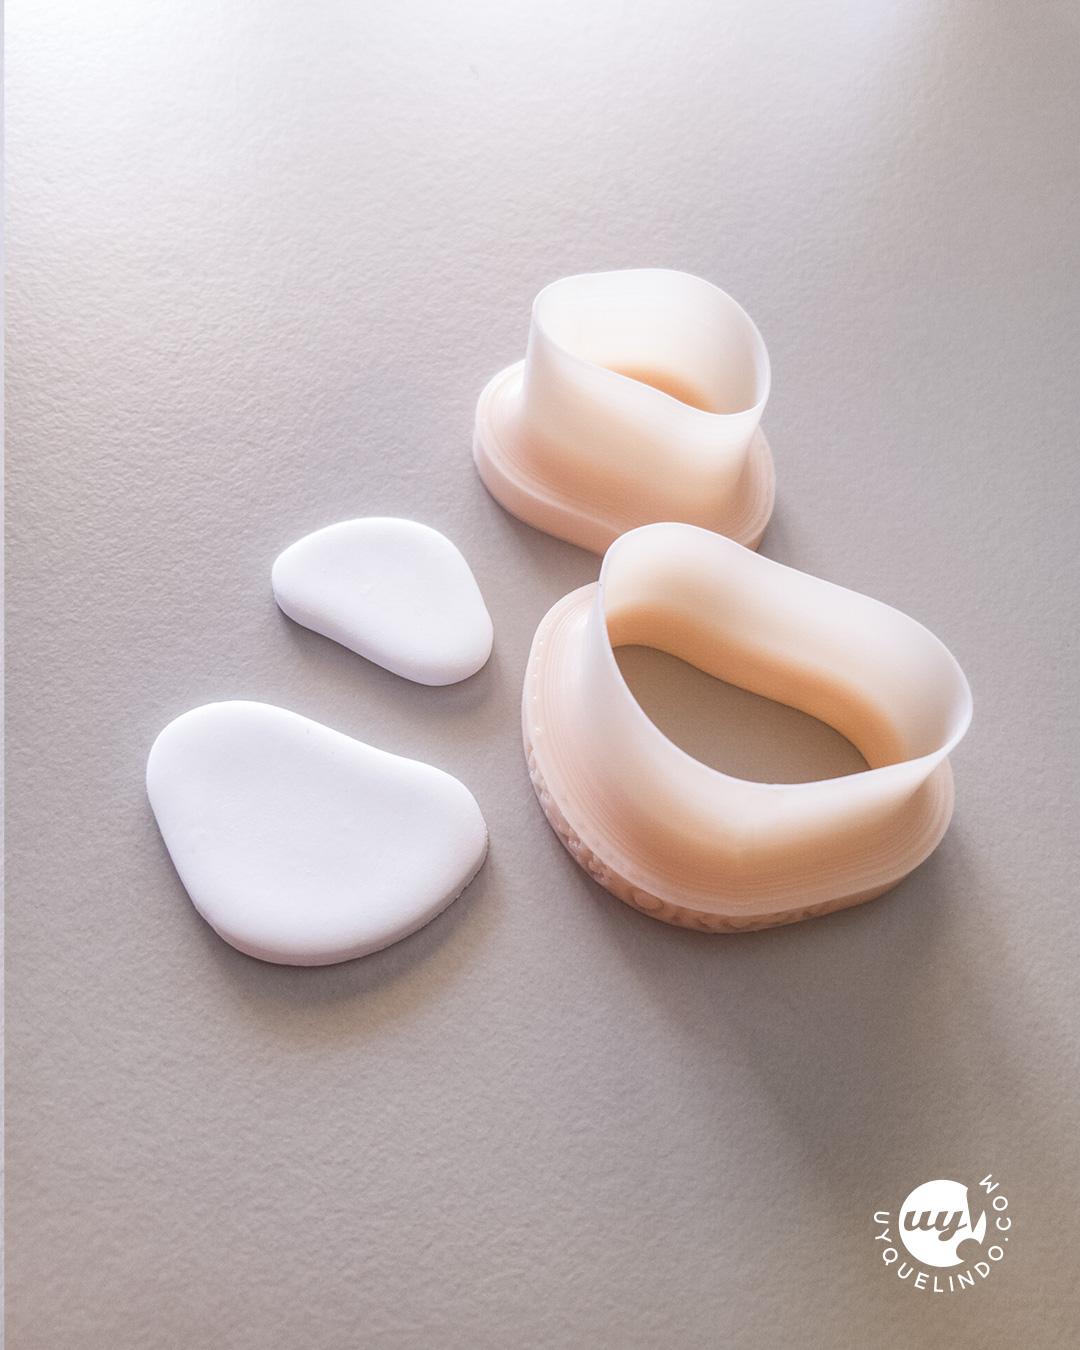
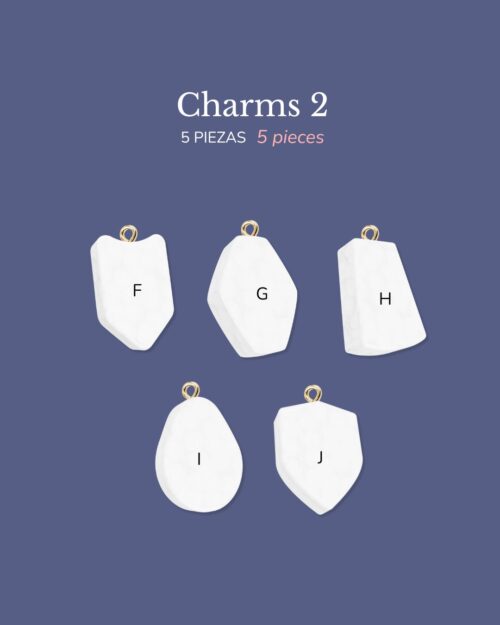
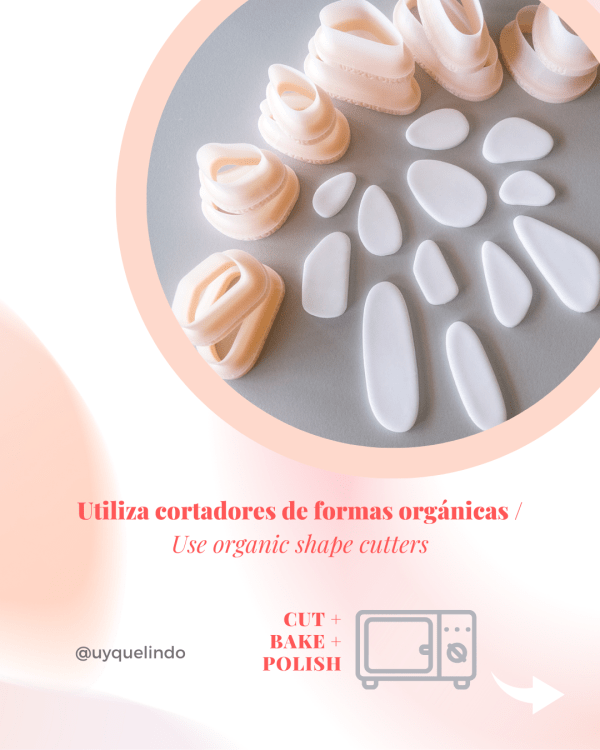
2) Also the family of Pebbles cutters that I have designed specifically for this necklace.. In my case I used two pieces less from the set because I like the collar to be tight. With the extra space at the joints it was a bit too much.

3) Once all the pieces were cut, they were baked in the oven for 30 minutes at 130 degrees C. When they were ready and as these shapes have no residue, I simply wiped them with my microfiber cloth soaked in acetone to make everything smooth and neat.
4) The next step was to rearrange the pieces by appearance so that they flow into each other tracing a possible path. At this point you measure and mark where you want to drill holes in each piece.

5) Once ready I turned the pieces over and patinated them with the Mixative gold ink, which covers quite well, but I only wanted to leave a washed effect so one coat was enough. I worked with my fingertips as it dries quickly and continued the next day.
6) I mounted biface tape on a tile and arranged all the pieces to apply the UV resin dome, take it to the lamp in batches and harden the resin. The gold base was favorable for the resin not to retract from the edges, but if you doubt, by lightly sanding the piece, the resin will no longer retract. Once the pieces were ready, I placed them again by their shapes to avoid mistakes.

7) The joints can be made simply with linked rings, other beads, filigree or whatever you want. I used 4 to 5 mm freshwater pearls because they are so delicate and irregular! The wire is AAA+ type (quality gold plated copper) and 22 gauge (I would have liked 20 gauge but I couldn't get it through the bead).
To manipulate the wire, pliers and cutting pliers.

WE WORK ON THE JOINTS!
- Start by filing the uncut wire end of the spool. This keeps you from wasting material.
– Con el bucle mas pequeño de 2 mm de la «pinza de 6 pasos» comencé a enrollar, dando un par de vueltas.
- When you reach the beginning of the curl you stop, remove the plier and measure 25mm (in case you use beads or similar beads to the size of 4/5 mm) below that curl. There you can cut using the straight cutting pliers. The straight part always in the direction of the ending, otherwise the cut will be diagonal.
- I file that new end again and pass the pearl back to the roller.

- You secure the bead with your hand against the loop and with a fine plier you make a gentle break in the opposite direction of how you wound the bead on the first end. This is so that when you make the second loop the loop exerts counter pressure and the bead is neat and tight. (If this is not clear, let me know girl!) The break makes your second loop easier, which you wind inward.

WARNING! always observe the hands of others when working with the tweezers, as they transmit a lot of information! A good posture and grip simplifies things. Many times I need to mentally figure out a movement before using the tweezers, otherwise the work will be imprecise and you will force the material, increasing the risk of fracture and start again.
The bead should look like in the picture and you can cut the excess material very gently if necessary as not all beads have the same size.

- Once you have prepared the joints you interleave them between the pieces and start joining using conventional links. In this case of 5mm. I have made these links from the same wire, hammering them between a cloth to give them more rigidity, one by one.

9) To finish you can use a lobster clasp in the size you like, in this case I used a circular lock because I felt that with large pieces a small hook would get lost and it also gave it a metal accent that with the white and patinated backing looks very cool!
Well girls, I hope you like it and work in your workshops with the materials you have at hand. And if you liked it a lot, you can stop by the store and get the beautiful Pebbles, which now, as I write this, deserve some matching earrings.
Save, share, experiment and like!
Did you find this little Pebbles choker tutorial useful? Do you have more questions? You can leave us your doubts in this form and we will add all that information to the FAQ'S in our special page. Follow our social networks to know the news we add!