
I've had about five decades under my belt now, but I clearly remember my fascination with the world of fashion and cosmetics from the time I was five years old. I loved those illustrated paper sets with outfits that you could cut out and change into a little paper doll. Weren't they delightful? I would literally freak out at the outfit changes, so I would patiently wait for each children's publication to add a new model. Now that was perseverance training!
Later, to calm my intense interest, I started drawing my own dolls, because this allowed me to have unlimited access to whatever my imagination desired in terms of closets and styling.
Unfortunately, I don't have those copies, but as we tend to move in an upward spiral, one day, sitting at my desk and thinking up new items for the store, PLOP! the scene in the dressing room that I had loved so much reappeared. I hope you like it as much as I do.
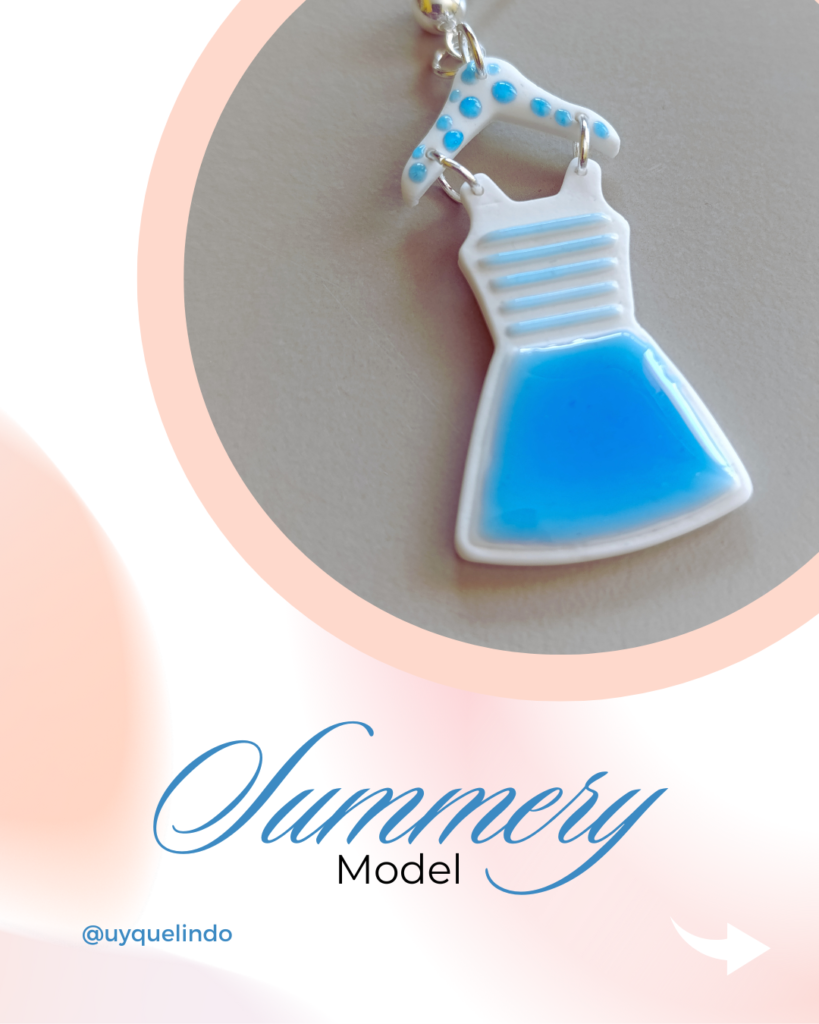
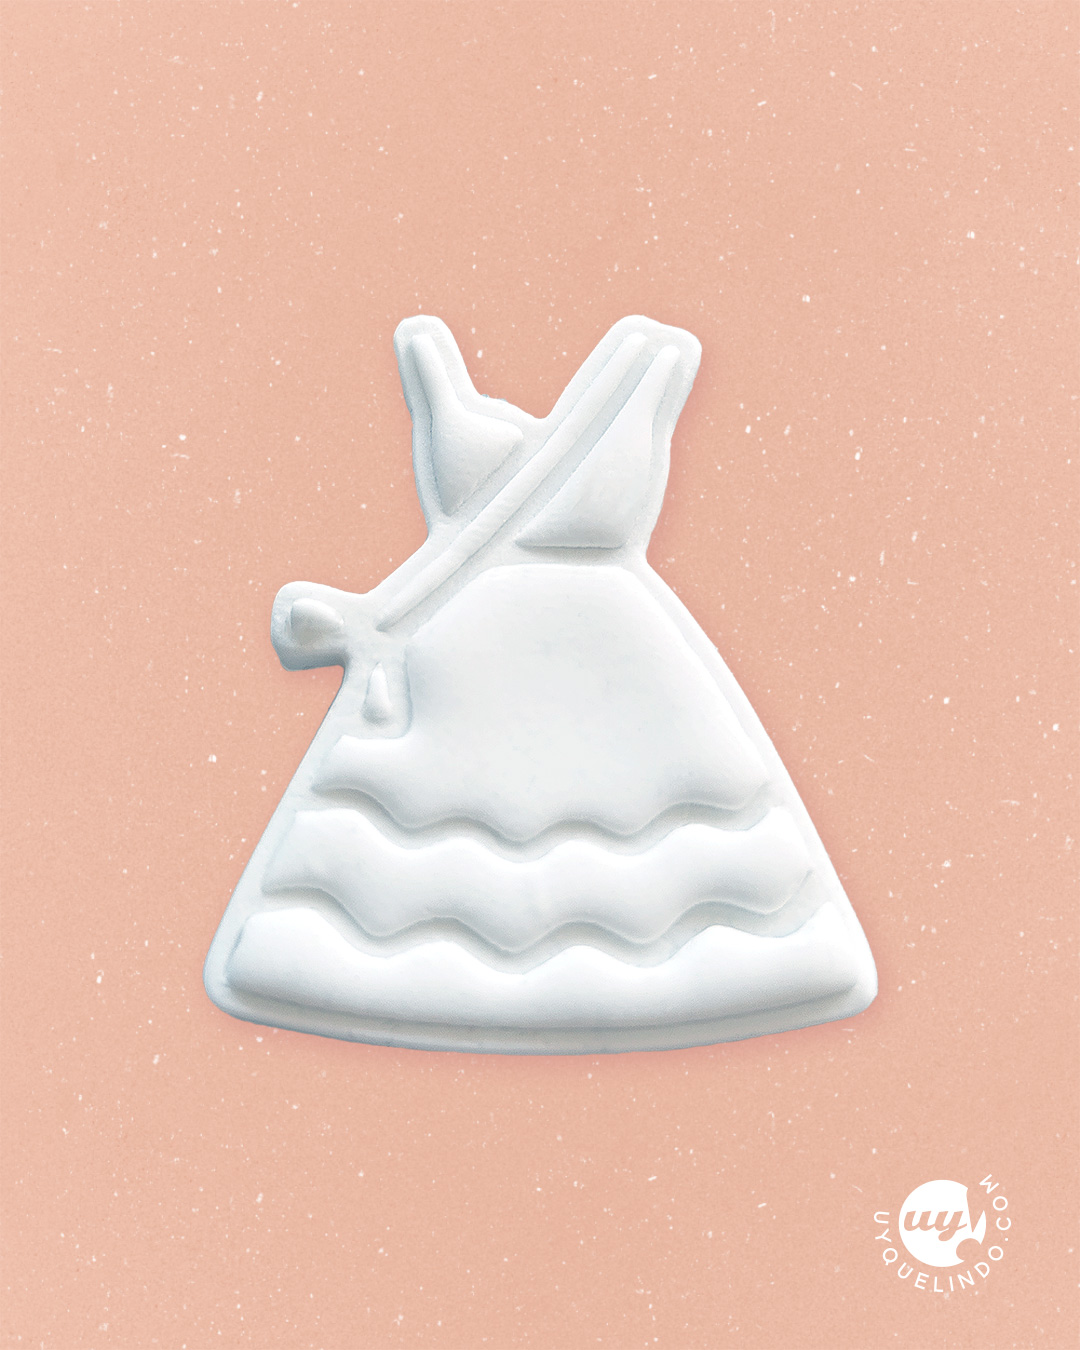
Summery is the casual, sporty style you take to the beach.
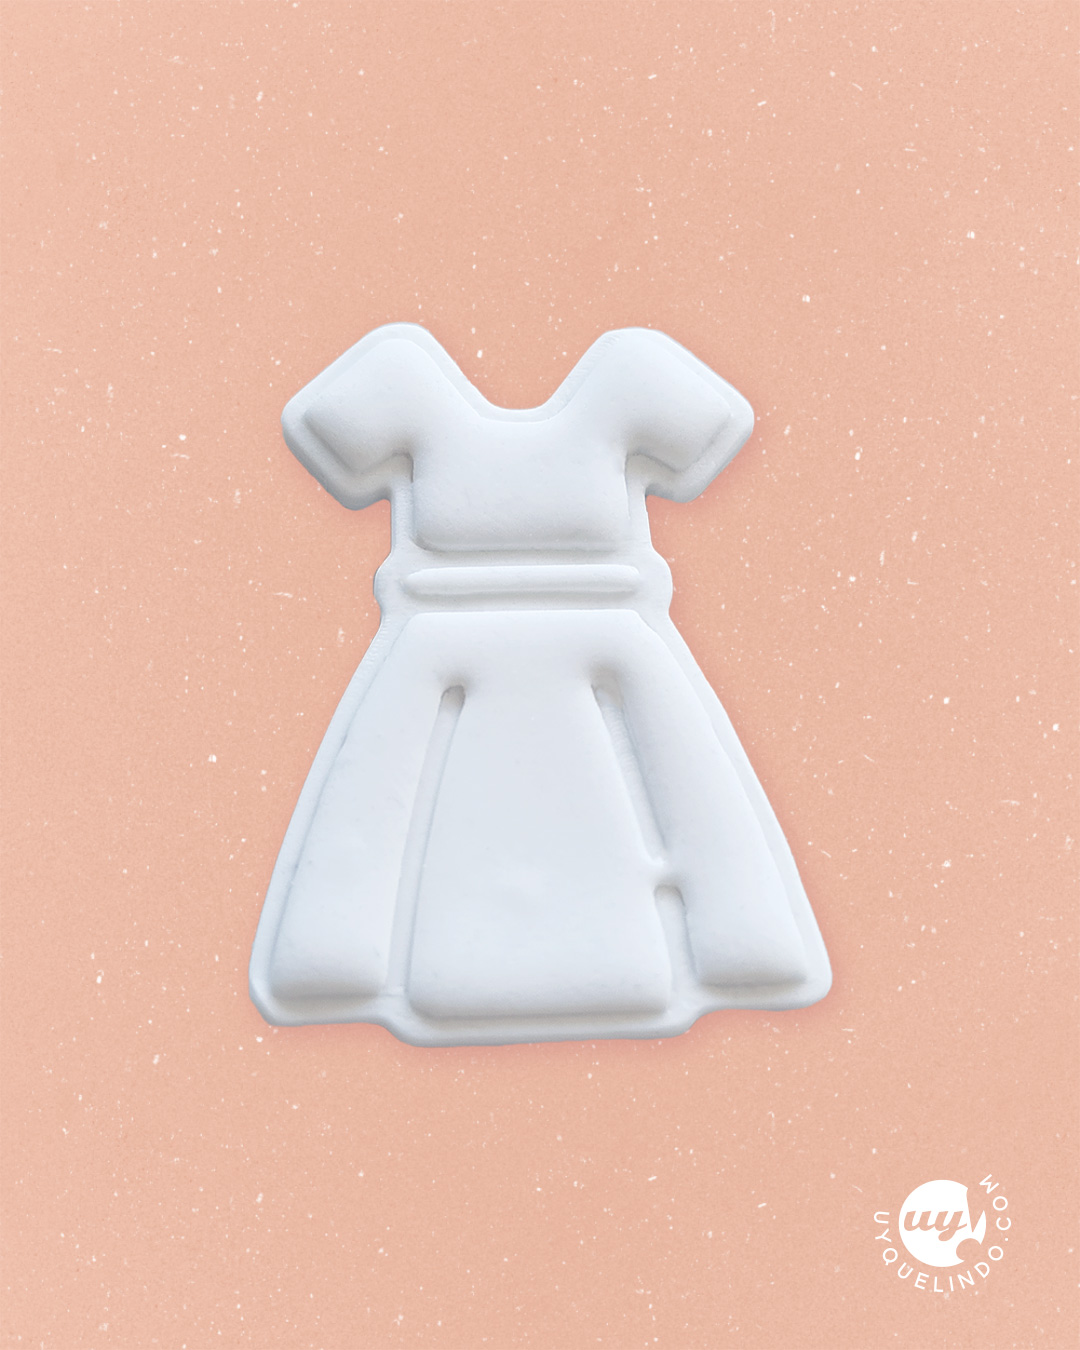
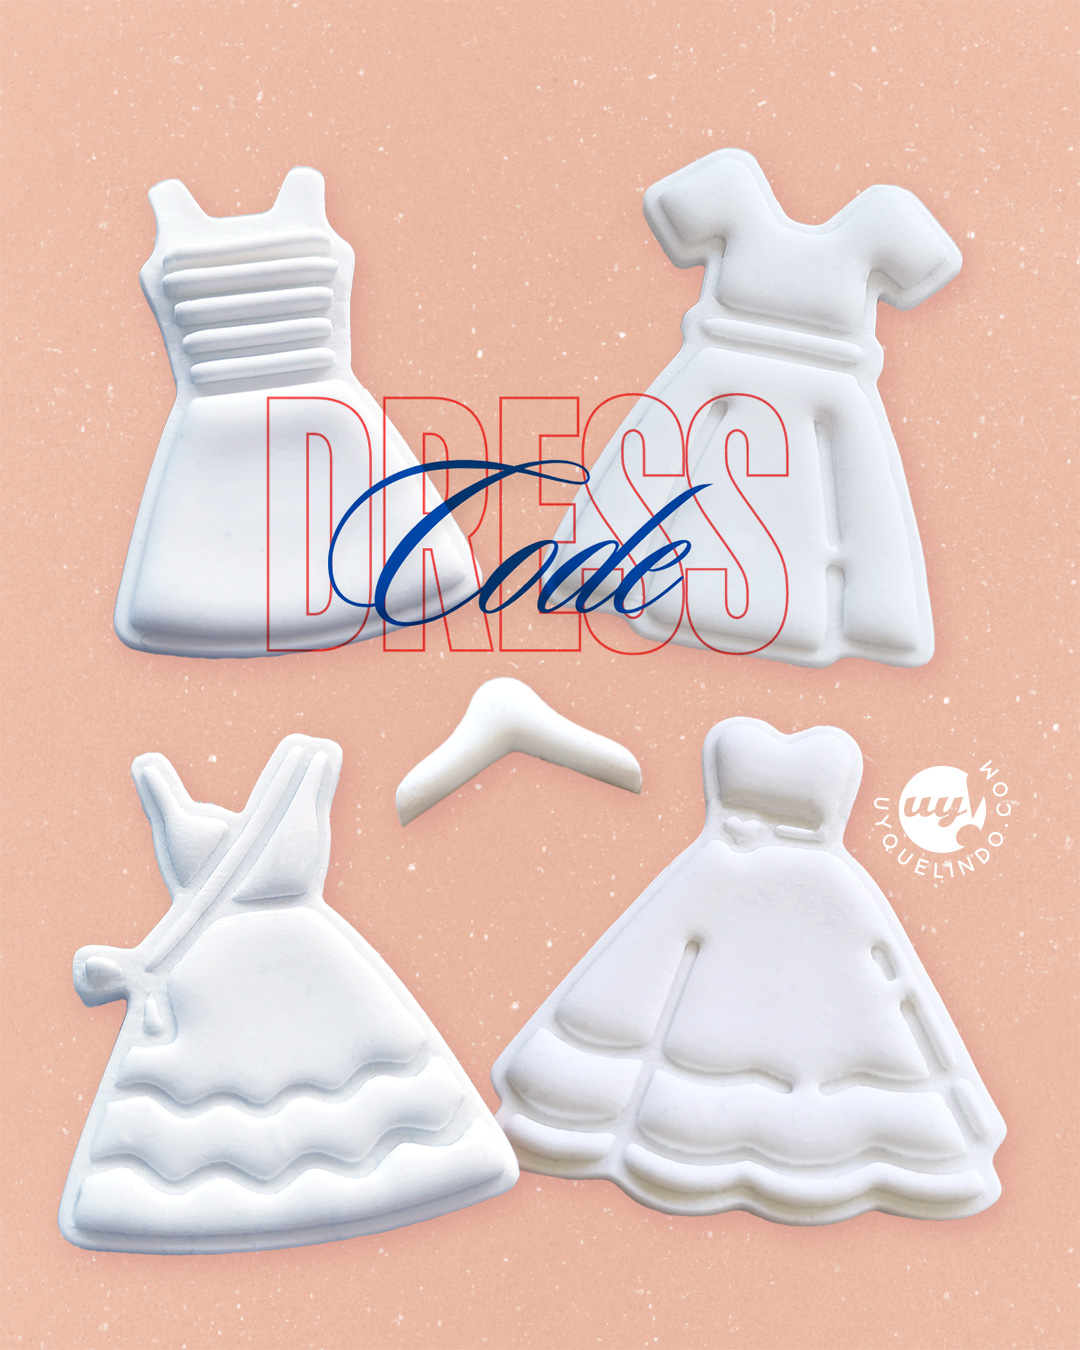
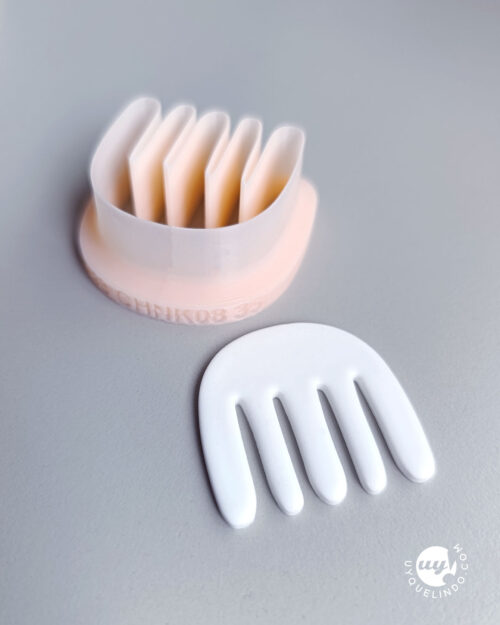
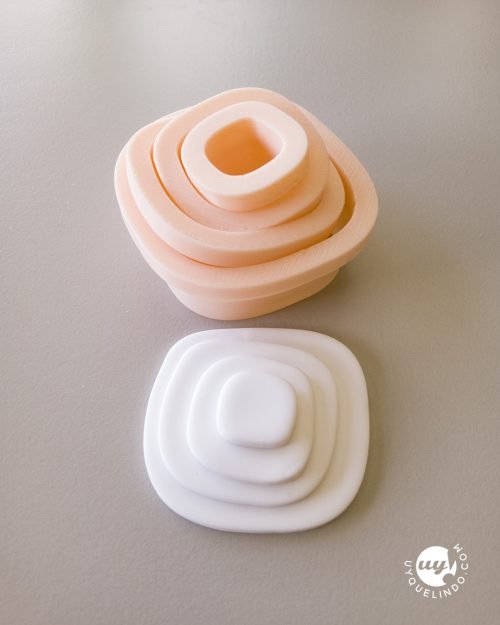
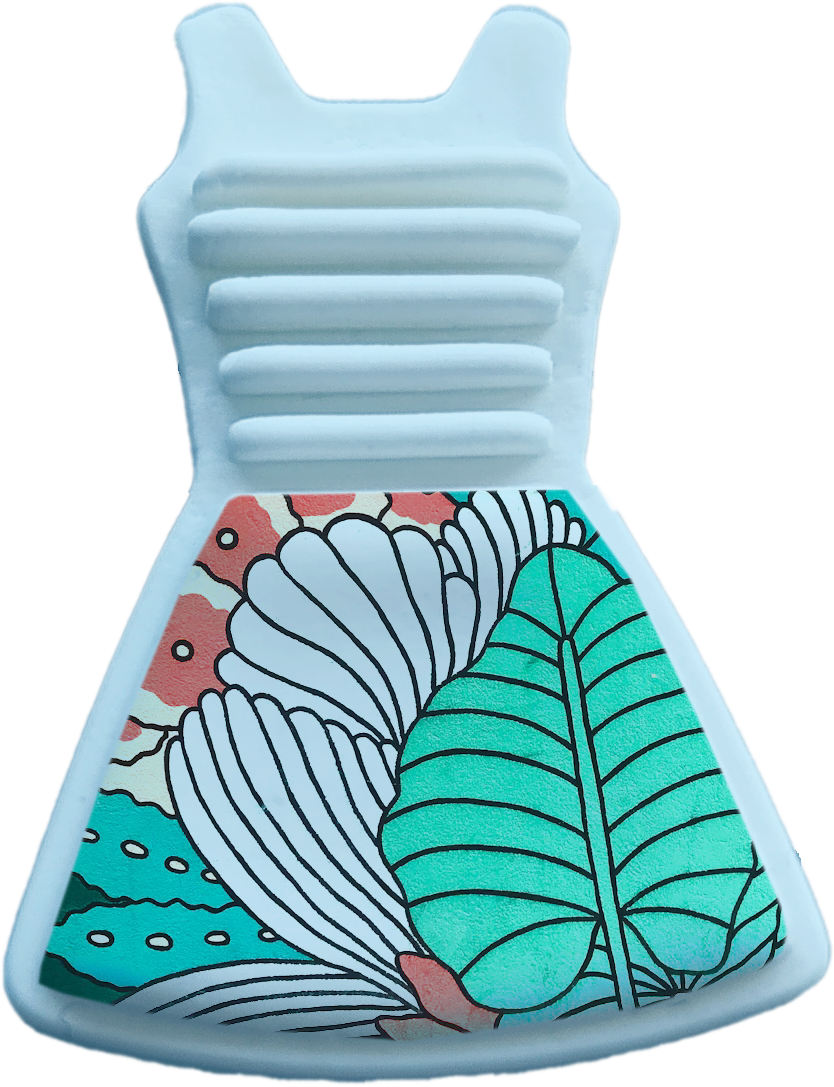
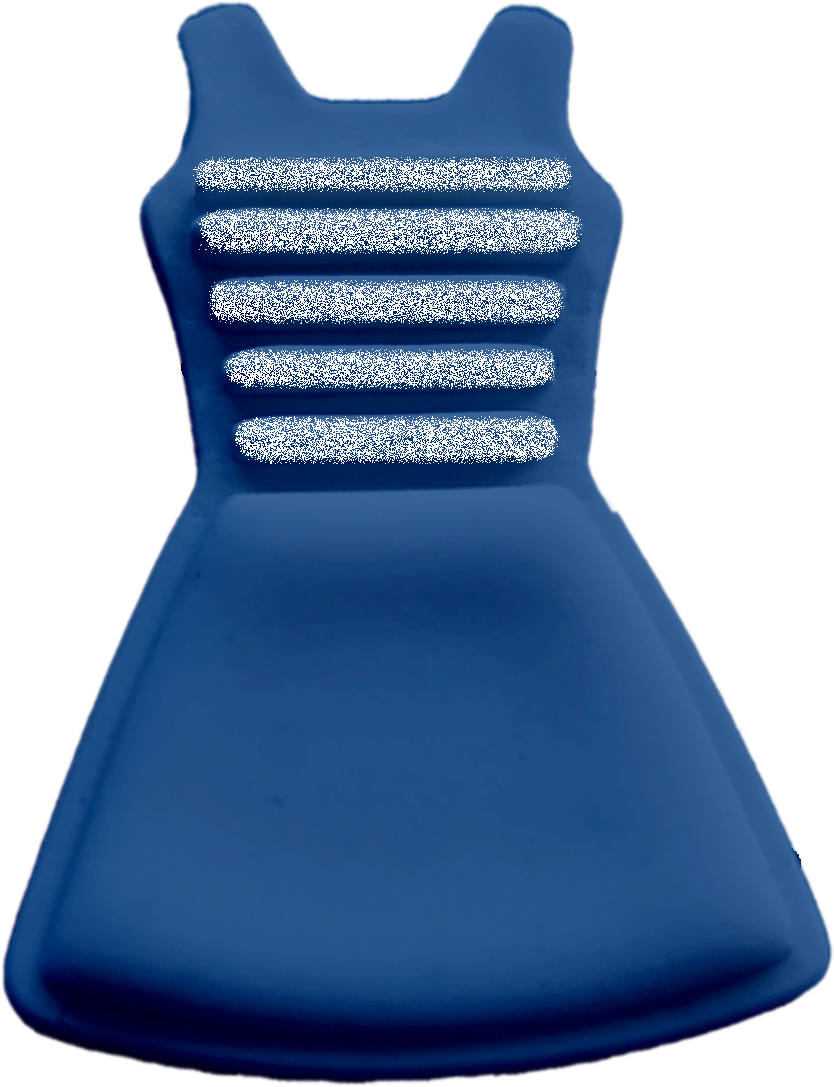
As you may have seen in other publications, our set includes a small hanger and the dresses, so you can play with the decoration of both pieces or color combinations. I think this particular model ( Striped dress cutter Dress Code No. 01) is perfect for saturated colors. Later, I will add some simulations to explain myself better.
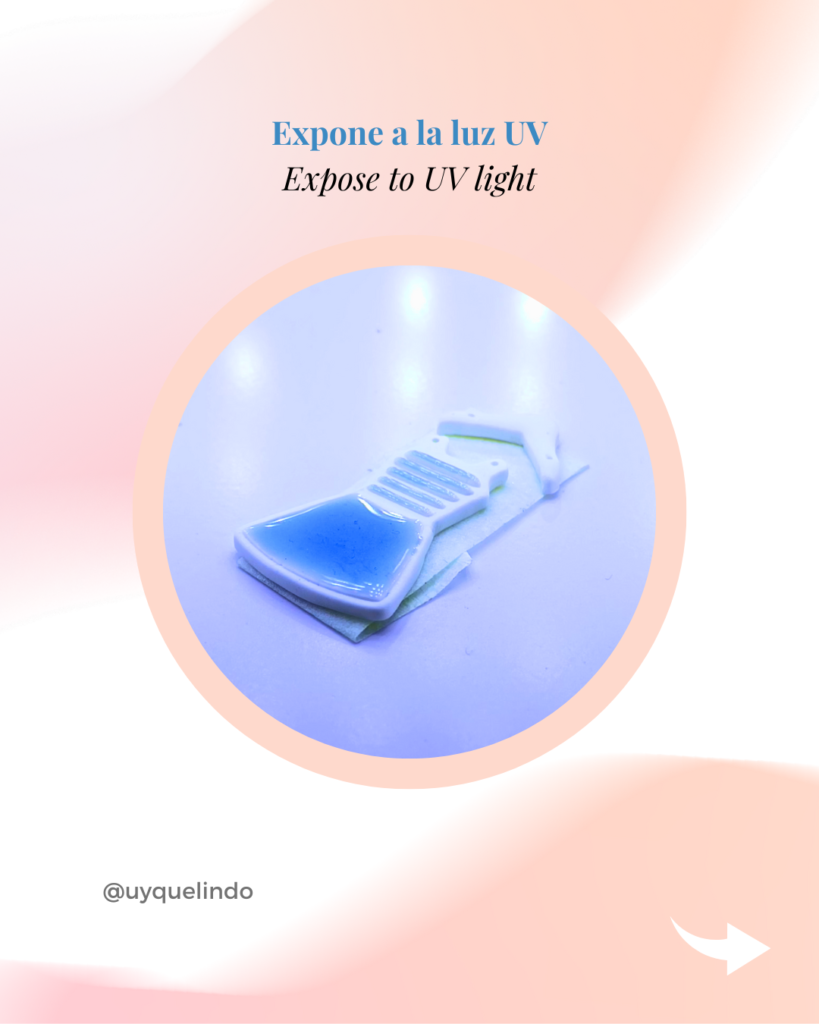
To start, I wanted to use a very saturated blue color, like the turquoise waters that await us this summer 🌊.


I used:
A) Intense blue alcohol-based ink
B) UV resin
C) A burner to remove bubbles from the resin.
D) UV lamp, as used in manicure, to harden the material.
E) A tile, brush, corn starch, acetone and microfiber cloth.
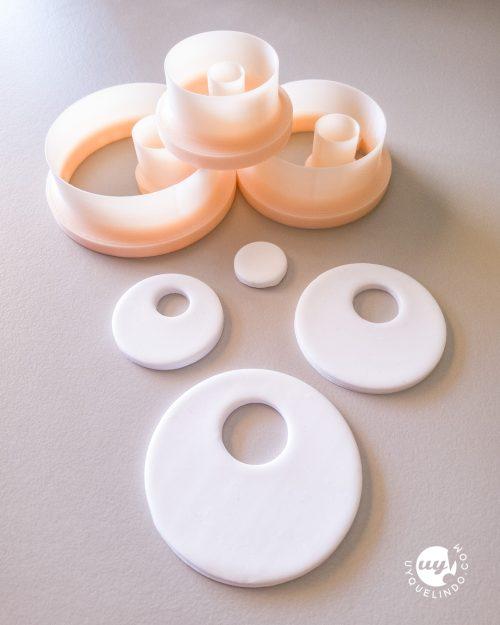
For cutting, use a tile, stretch the clay on it and apply a thin layer of corn starch (Maizena) with a brush, both on the clay and on the edges of the cutter. Do not dip the cutter into the powder, as this can block the air outlet, preventing the vacuum and suction effect. You can bake directly on the tile or remove the pieces with a cutter and transfer them to another surface. Bake in the oven for 30 minutes at 130 degrees C. When they are ready, simply go over them with a microfiber cloth soaked in acetone to make everything smooth and neat. The microfiber cloth is lint-free and has ultra-soft hairs that help polish out imperfections.
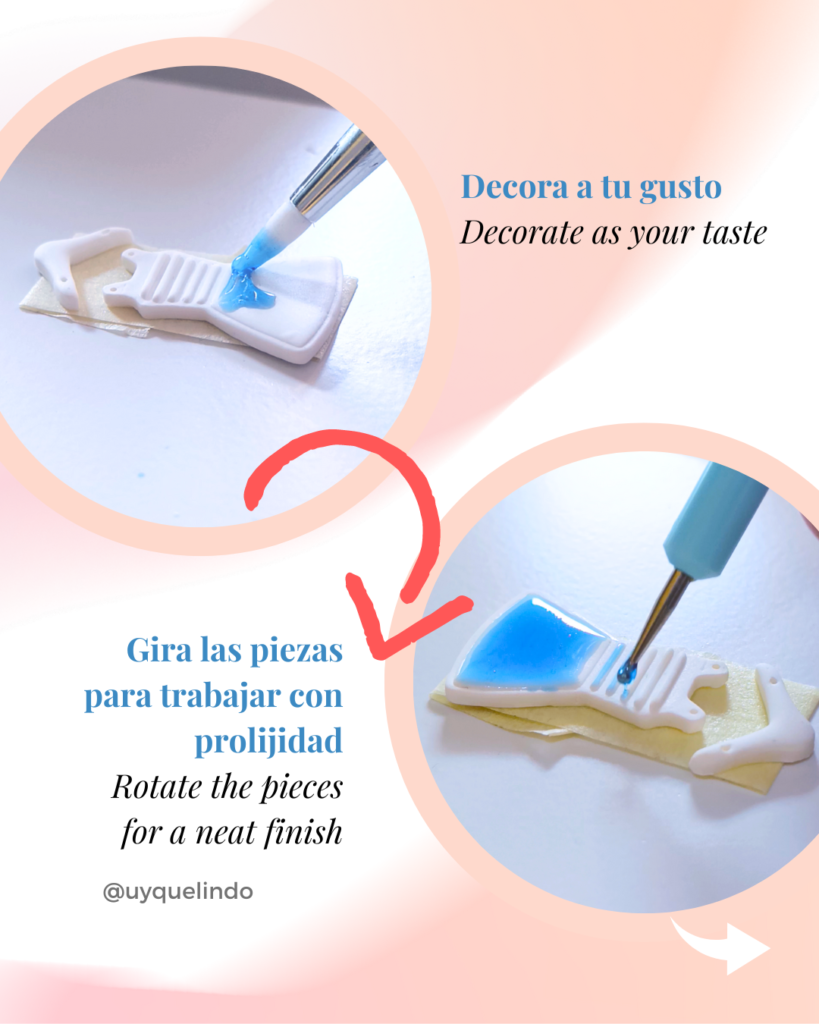
To work comfortably when decorating your pieces, use a base that you can easily manipulate and place a piece of double sided tape or paper tape that can be easily removed. The piece must be firmly on the base to avoid spoiling your work: turn the base without touching the piece.
With a single drop of alcohol-based ink, it deeply tones the resin. There are translucent, matte, glossy, etc. finishes. With a rubber brush or a toothpick, stir the mixture well. In the case of UV resin, handle it away from the sun's rays, otherwise it will start to solidify.
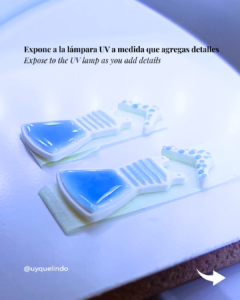
Work in sectors: expose, harden and move on to the next sector in the case of delicate work. I tend to use the lowest exposure value and for longer periods of time to allow the material to react gradually (the resin catalyzes when exposed to UV lamp light and solidifies).
A resin that remains tacky indicates that it has not received enough exposure to UV light. If you are using epoxy resin, the components may not have been mixed in the proportions indicated by the manufacturer. Always check your proportions.
The resin brand you see in the picture has no odor once cured and does not turn yellowish either, something I read all the time in other experiences.

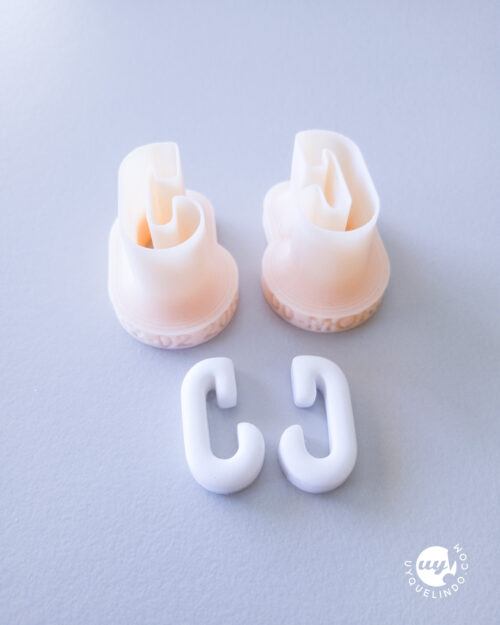
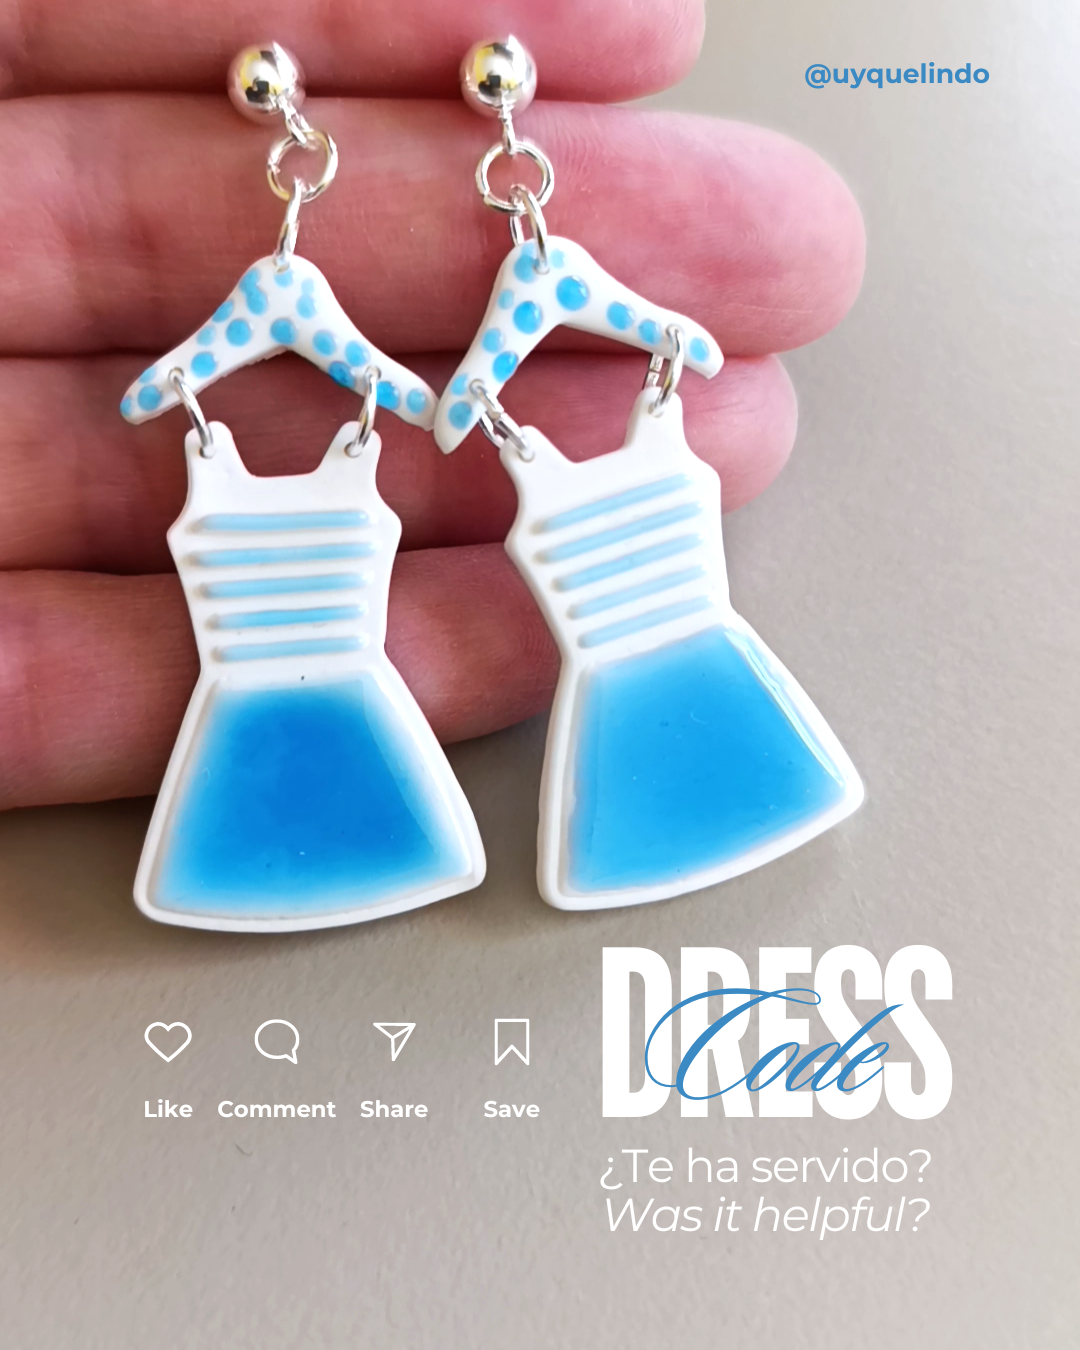
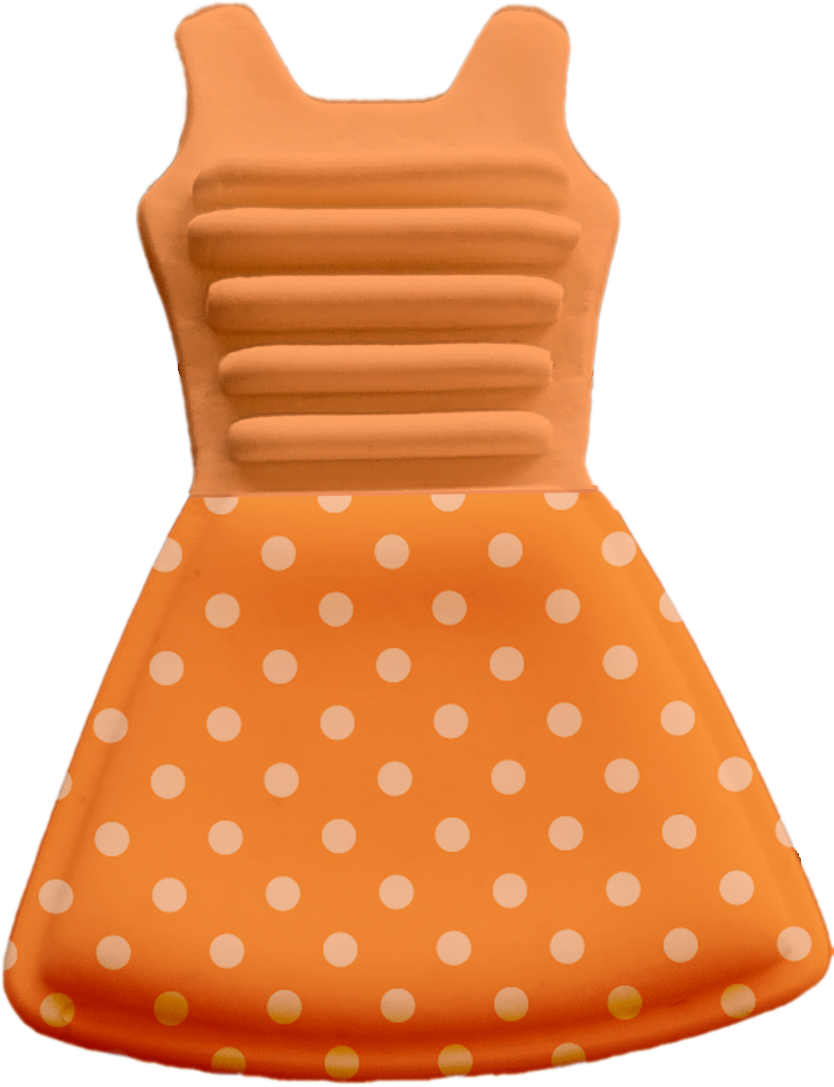
Finally, I added the detail of the drops on each hanger, made the decorations and placed the 0.6 m silver-plated rings and the 5 mm silver plated ball studs Well, I think white and bright blue go great together.
Some looks you can achieve
Did you find this little tutorial on the Summery model useful? Do you have more questions? You can leave us your doubts in this form and we will add all this information to the FAQ'S in our special page. Follow our social networks to know the news we add!