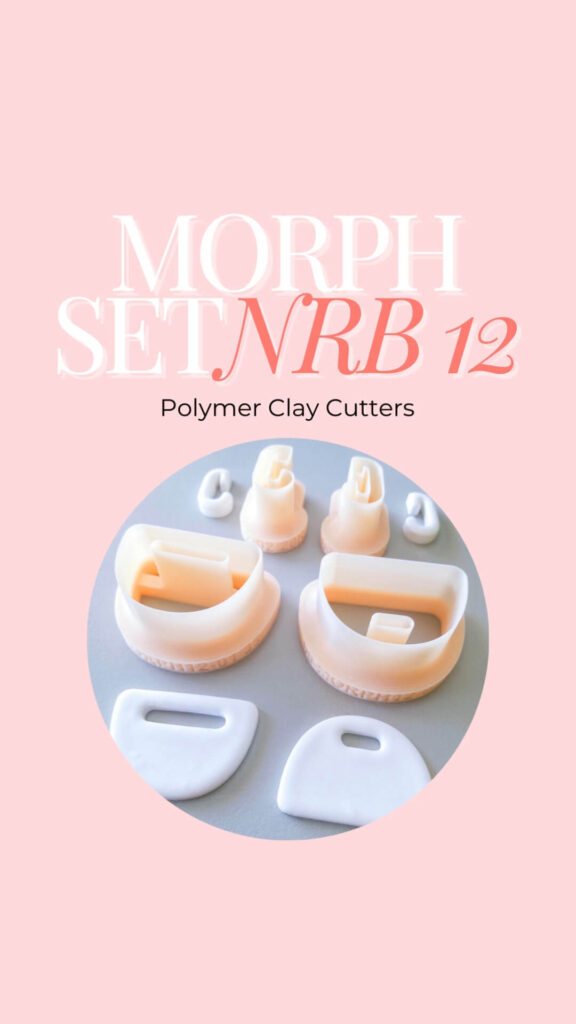
Here is the tutorial for this set based on our Morph No. 12 cutters. Let's read on!
Morph is a collection designed so that with all its groups of cutters you can create small capsule collections by simply varying the color, texture or finishes that you like. They are shapes that wear well because of their curves and enhance any outfit giving modernity to any style. It's time to add variety to your repertoire and stop replicating saturated styles in the market so you can differentiate yourself! Let's get to it.
1) I have always used #Cernit white clay because I love the pure satin finish it has (at the end of the article we will review all the materials used in this combination).
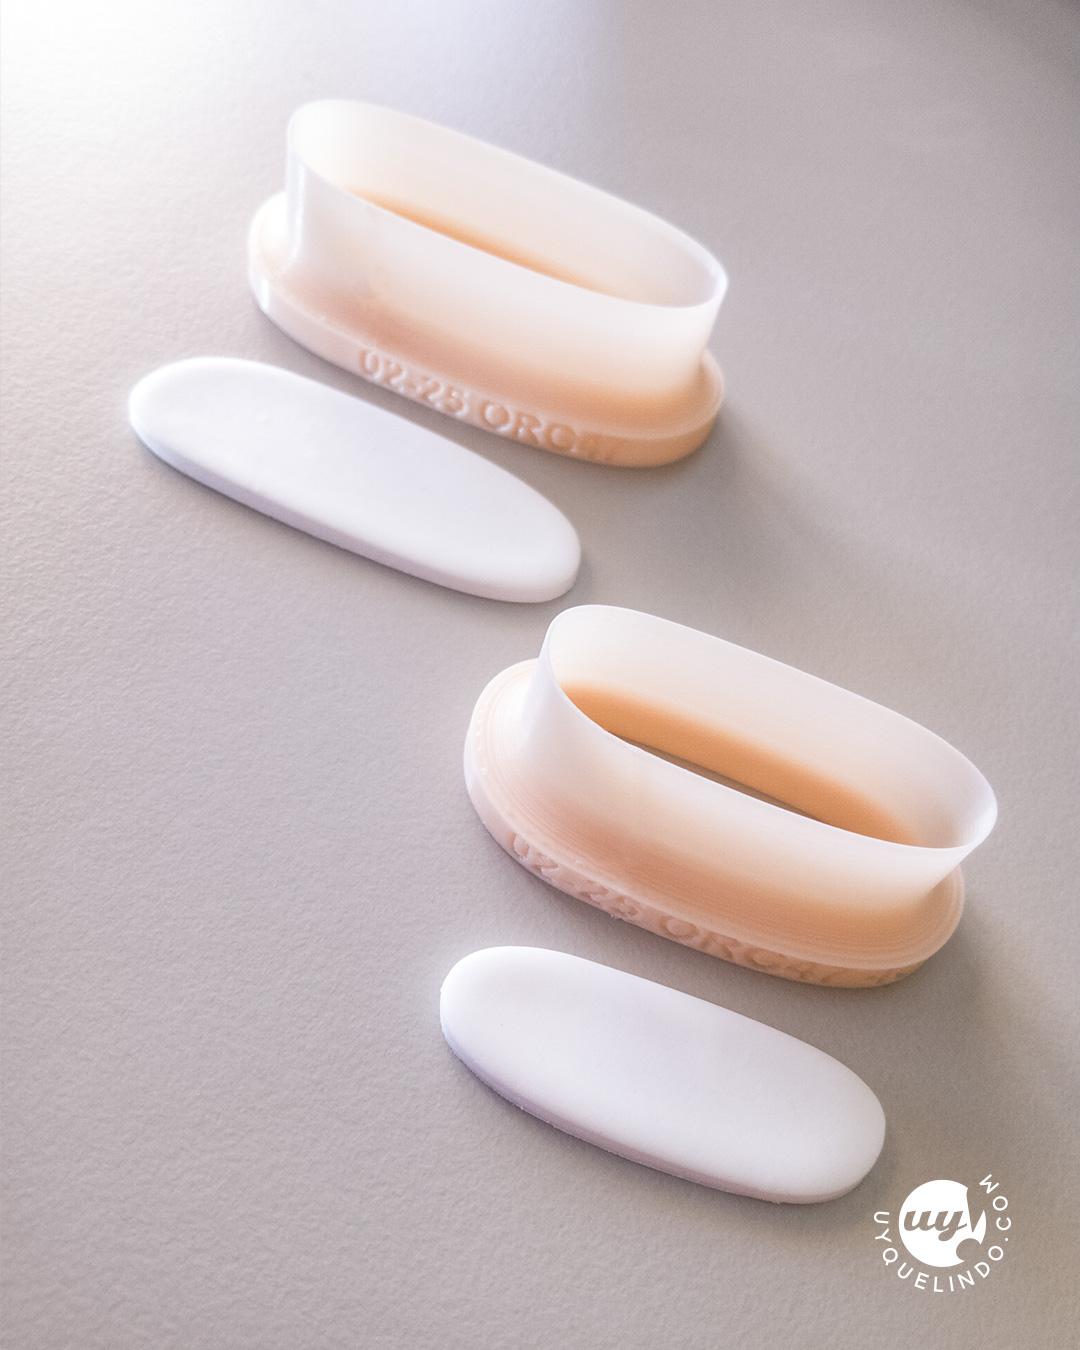
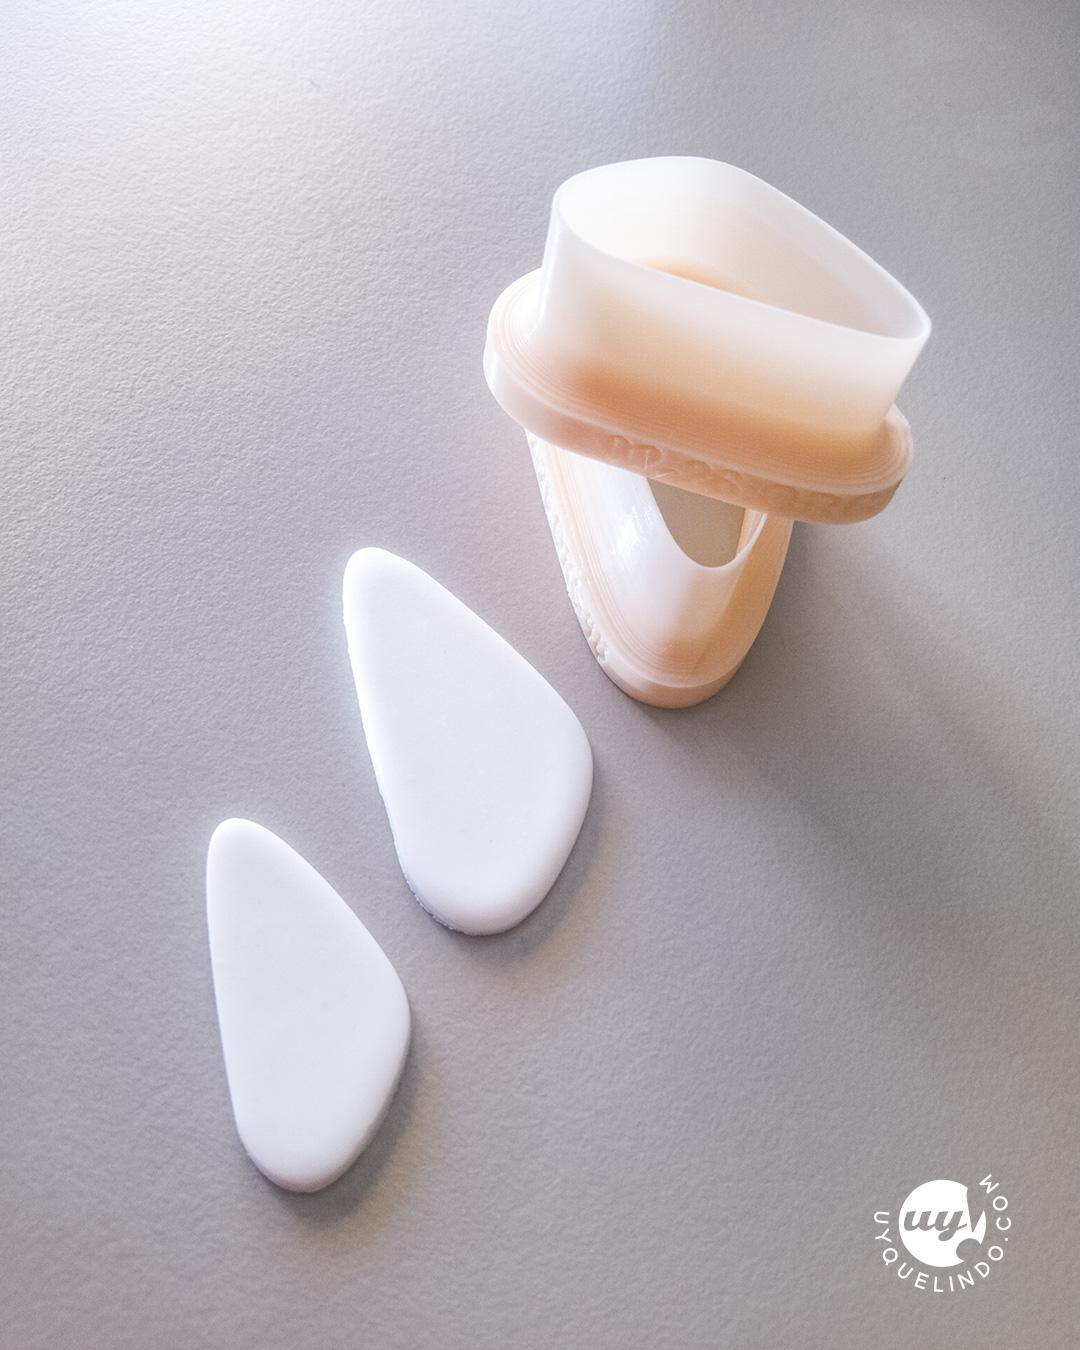
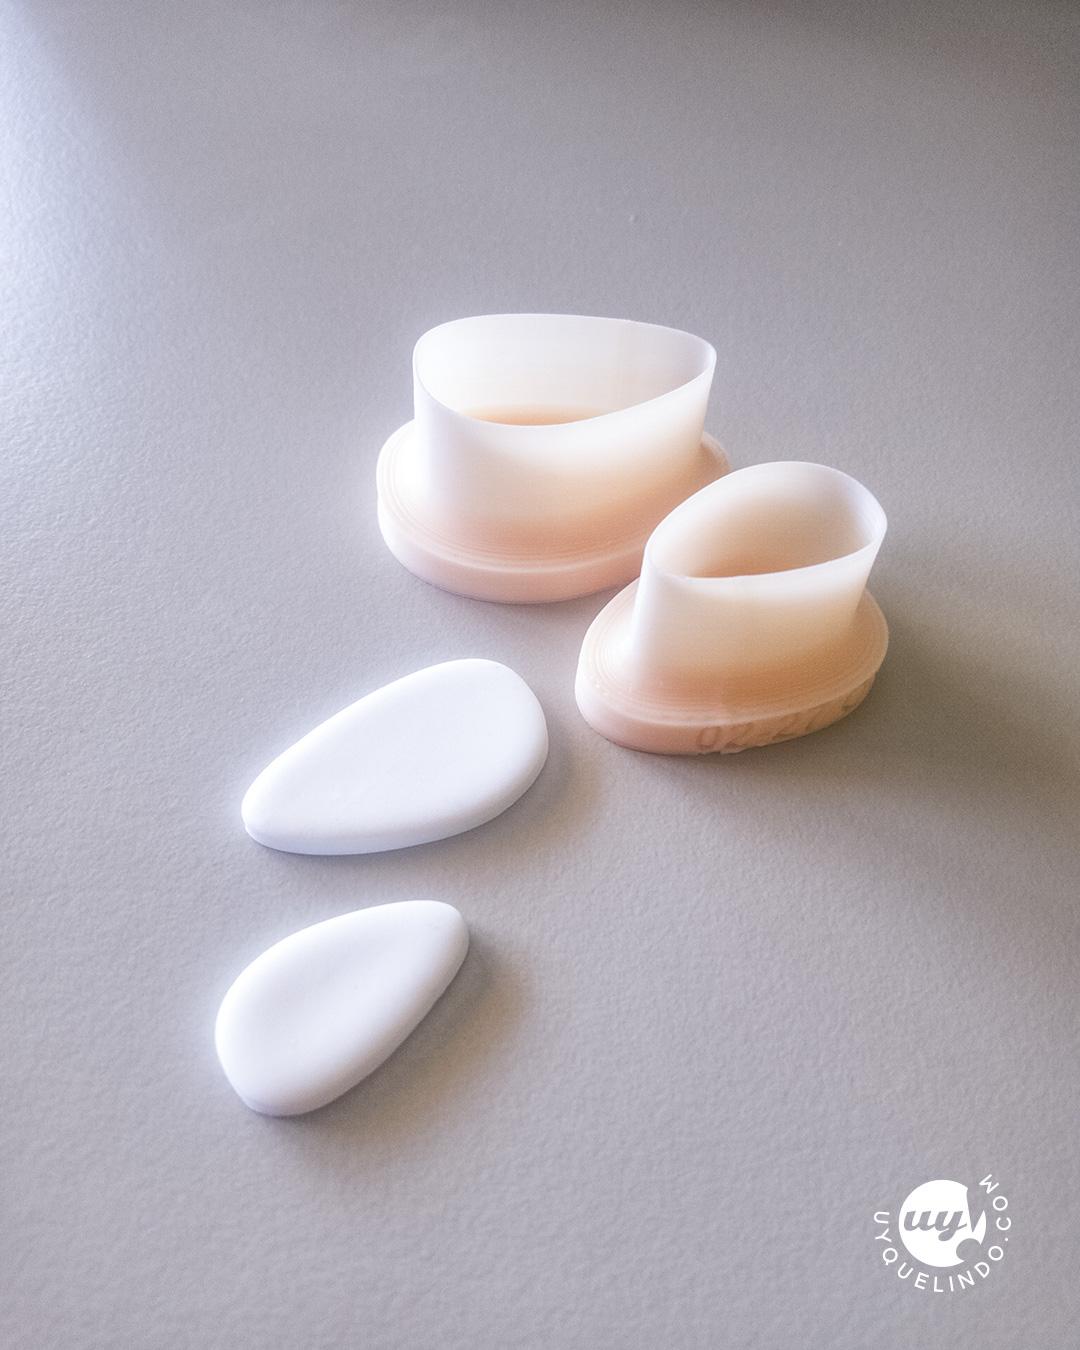
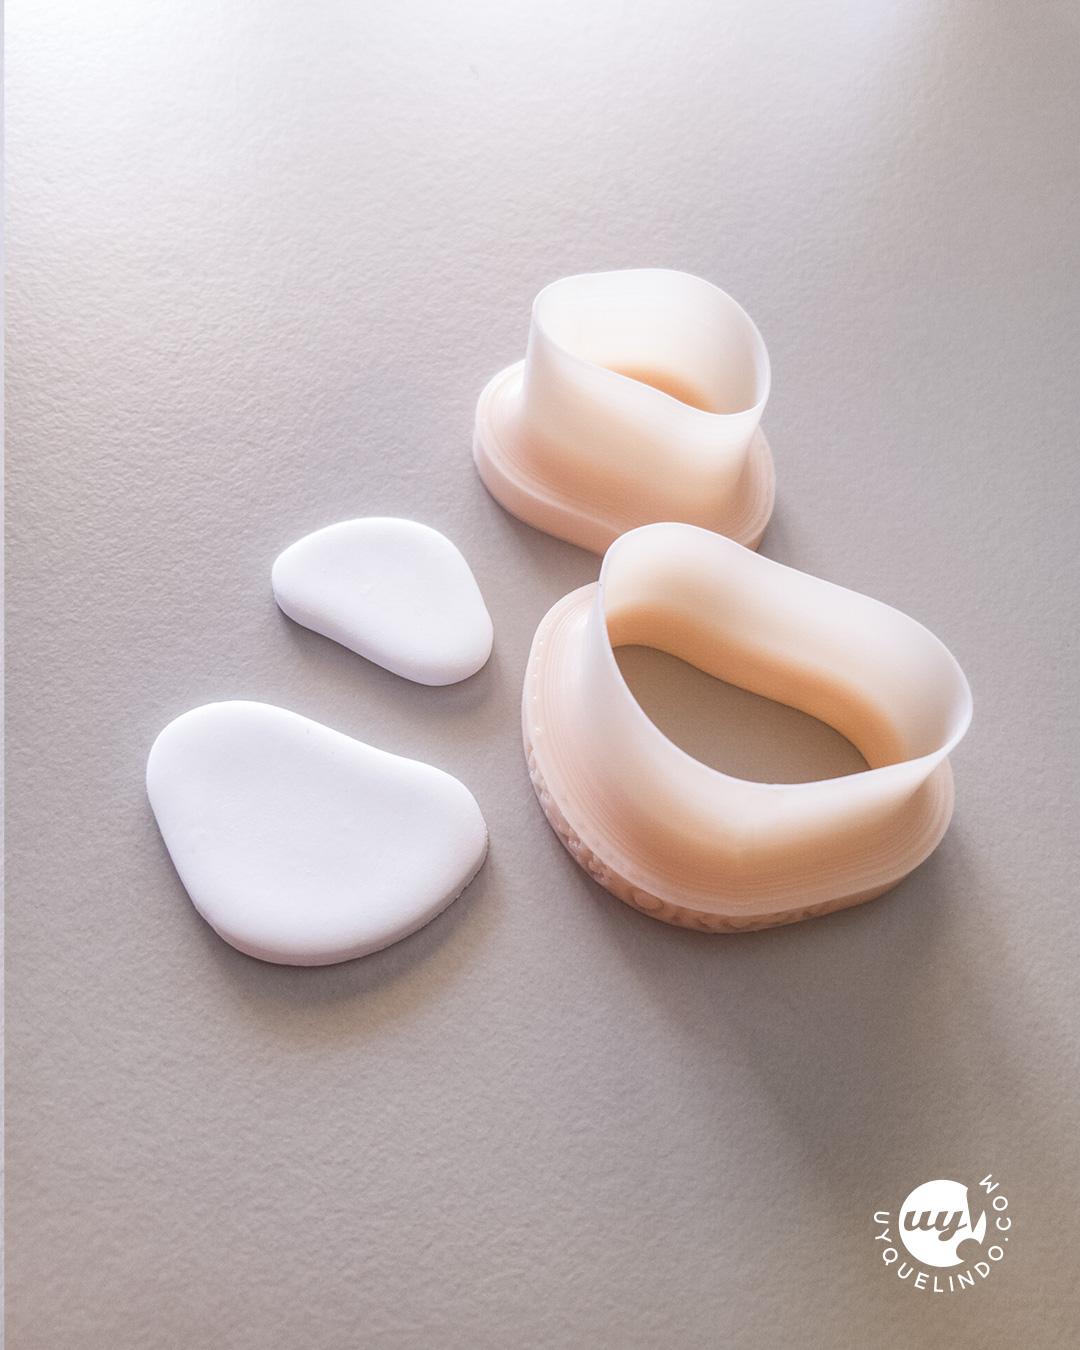
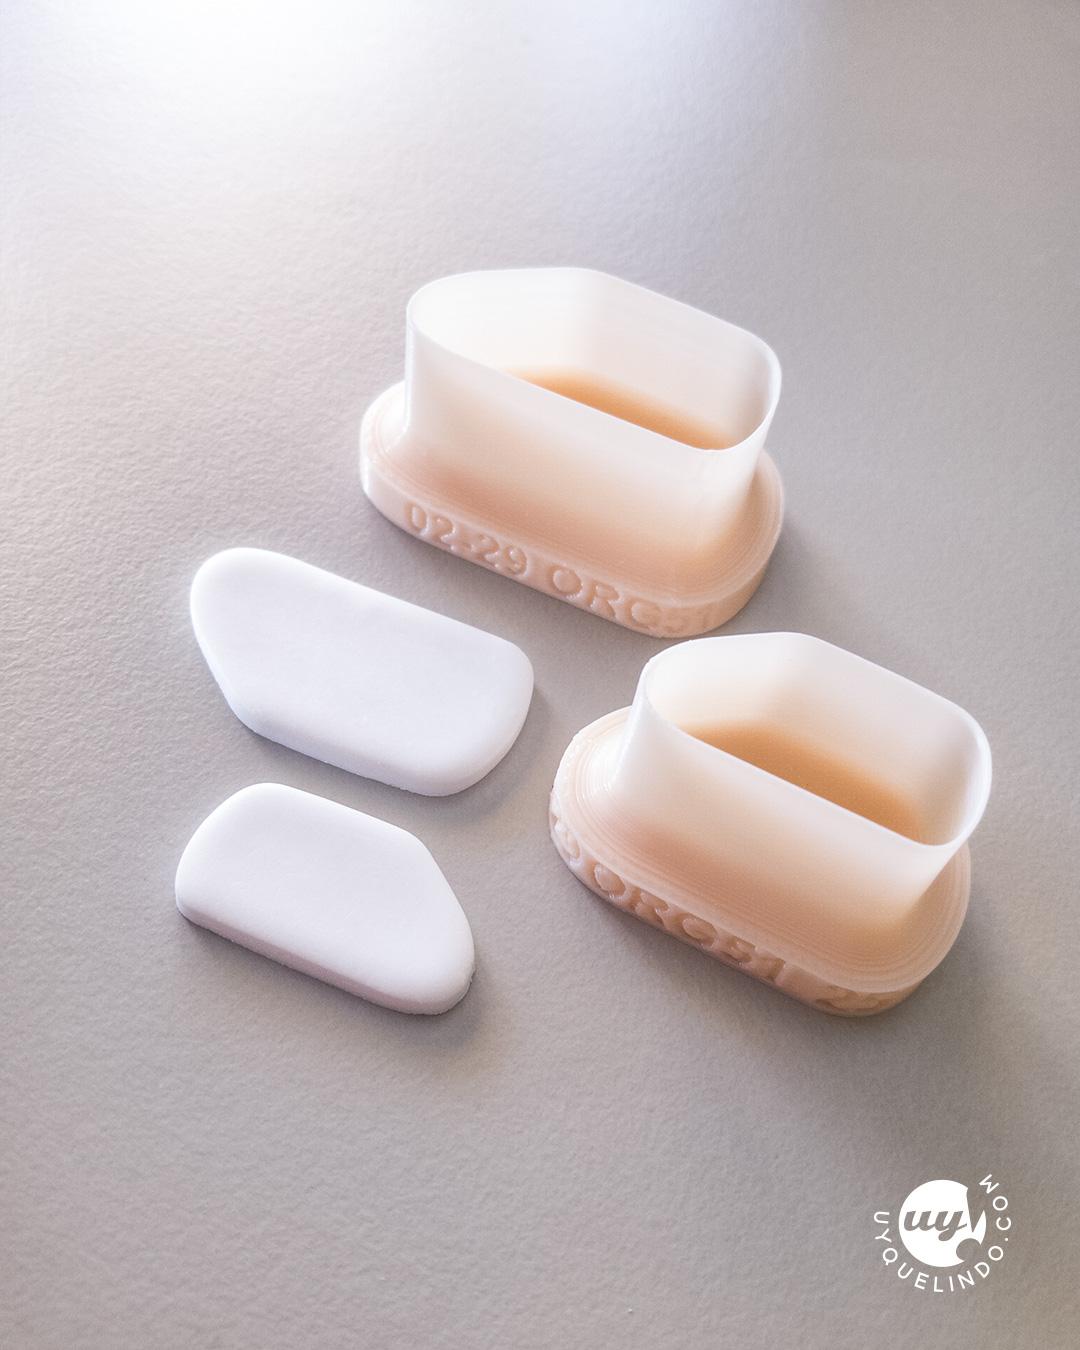
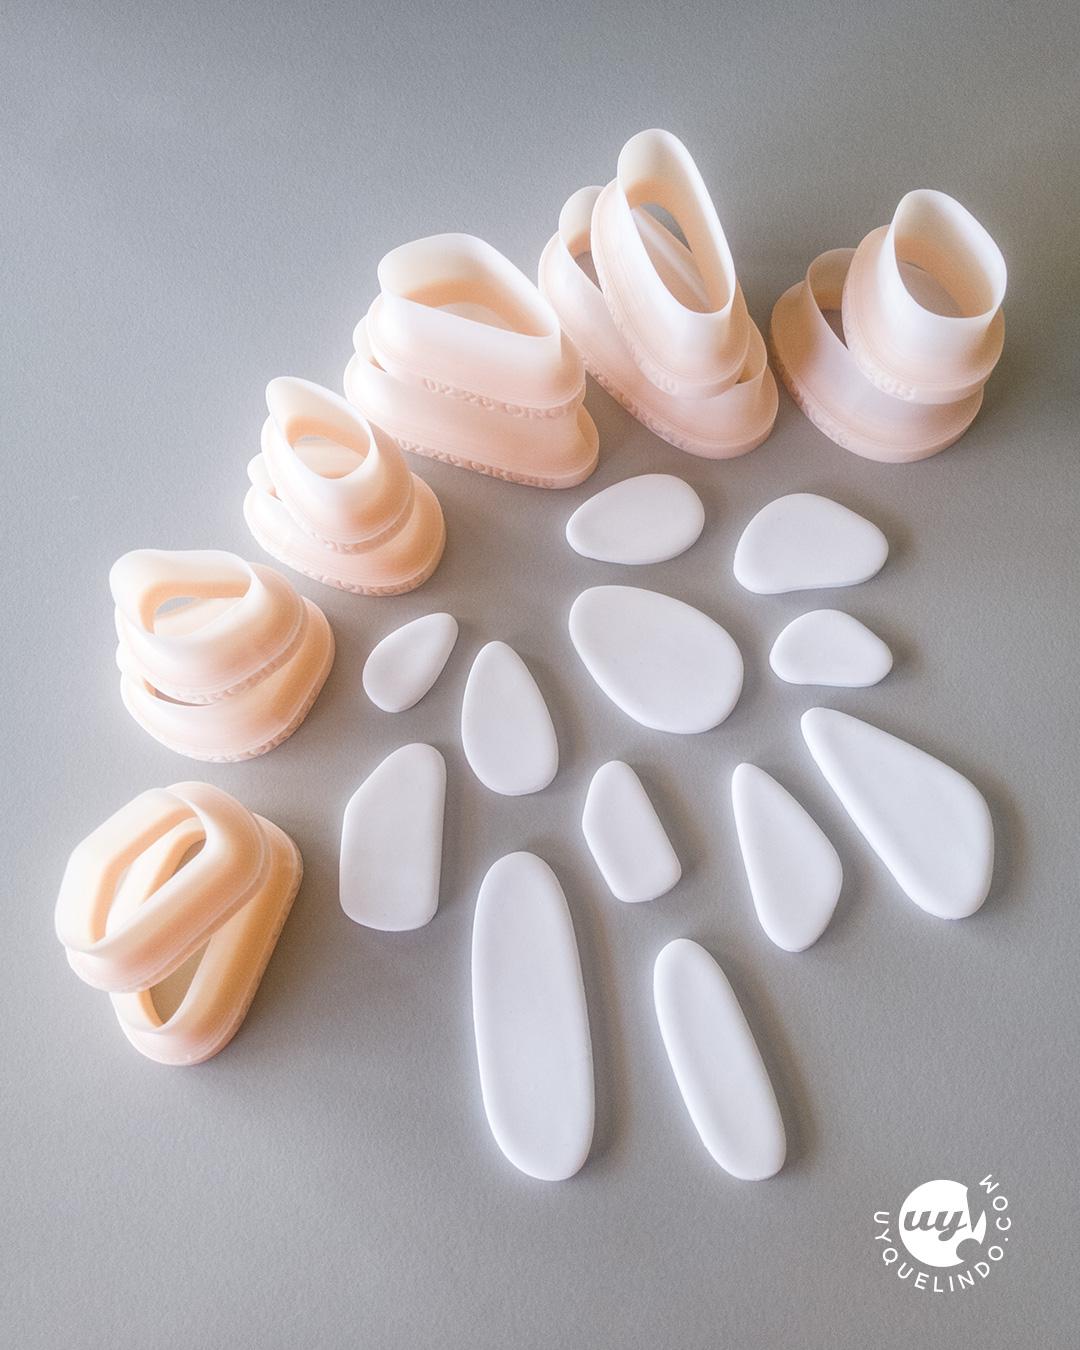
2) Also the Morph No. 12 family of cutters designed specifically for this set.. Throughout the Morph collection we have upgraded the edges to be as polished as possible saving you a considerable amount of work in post production.

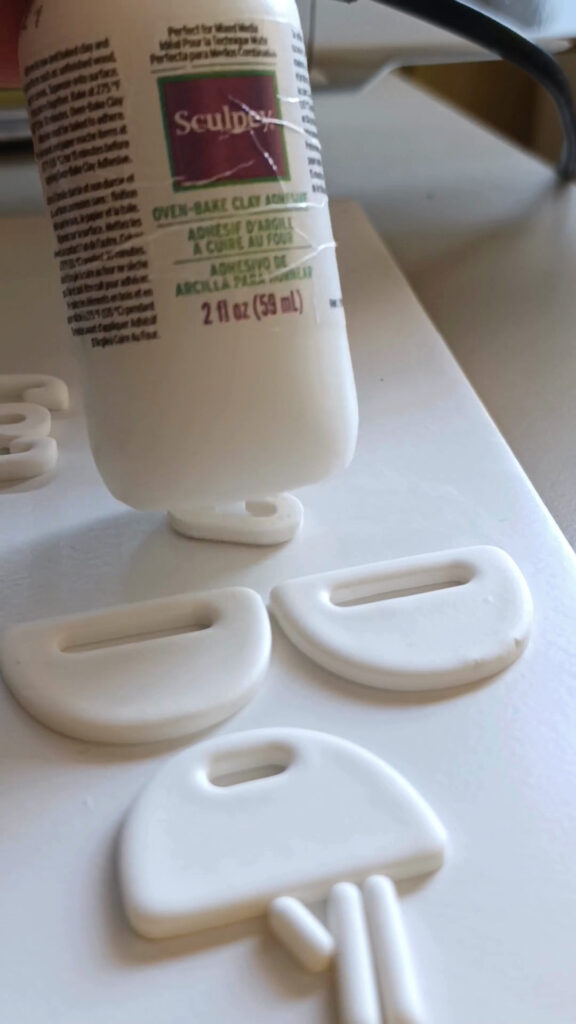
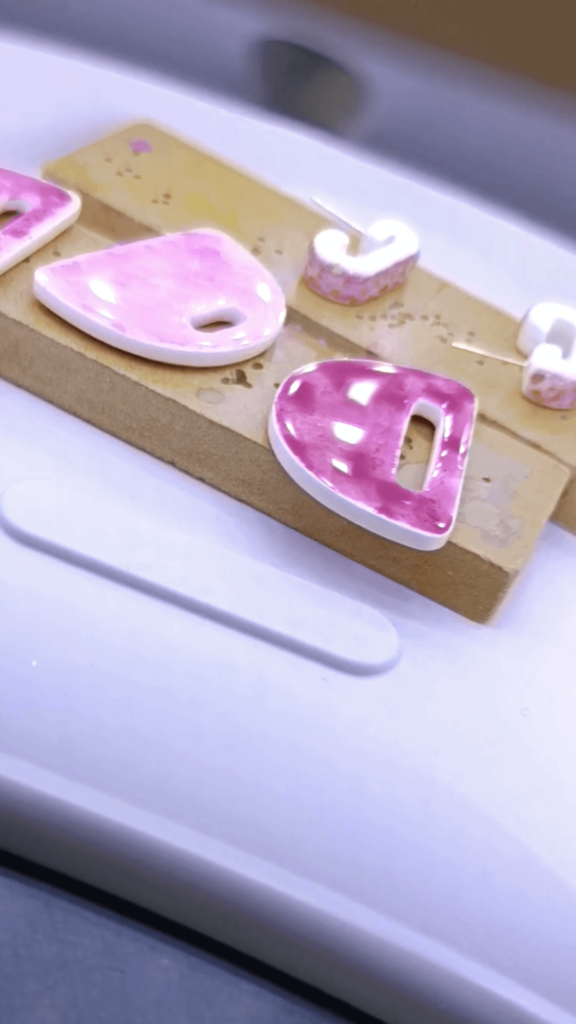
3) I have cut some surplus parts but you need to
+ two pairs of hooks
+ two drops
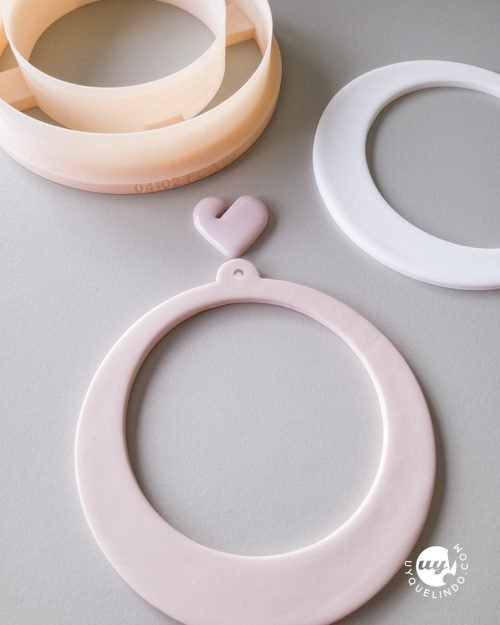
+ another drop as a pendant although you can vary the latter among themselves, and even use different or mismatched shapes.
In this case I'm going to hand paint the pieces but you can experiment with transfer, glitter, mokume patterns and textures of all kinds.
4) I usually bake my pieces as directed by the manufacturer and for 30 minutes at 130C on a tile, with an aluminum foil cover suspended over the pieces. This promotes an enveloping heat that is not excessive. Most baking failures are undoubtedly due to the oven temperature, which you should always check with the special thermometer that is inserted in the oven.

5) Once the pieces are fired I go over their edges with a microfiber cloth soaked in acetone, since they do not require sanding.
6) To finish the hooks I use baking clay adhesive in a small amount and on only one of the surfaces. Once you have positioned the pieces, slide them just slightly apart so that the glue is evenly distributed. Wipe off any excess with a clean white cloth.
7) Bake again for 15 minutes at the same temperature. The hooks will be welded together.
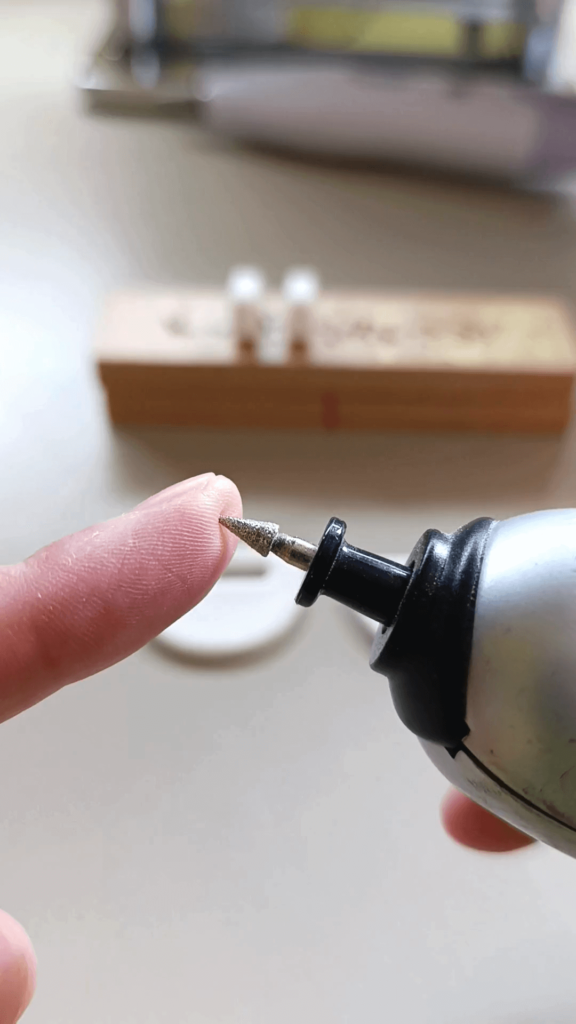

WE WORK ON THE JOINTS!
- In this case as it is a small piece, I use this manicure lathe because it has no wires and is very light. The manicure lathes have some very handy interchangeable cutters for the tiny corners of our jewelry.
- You must pass the milling cutter in the reverse direction to the joint to obtain an imperceptible finish.
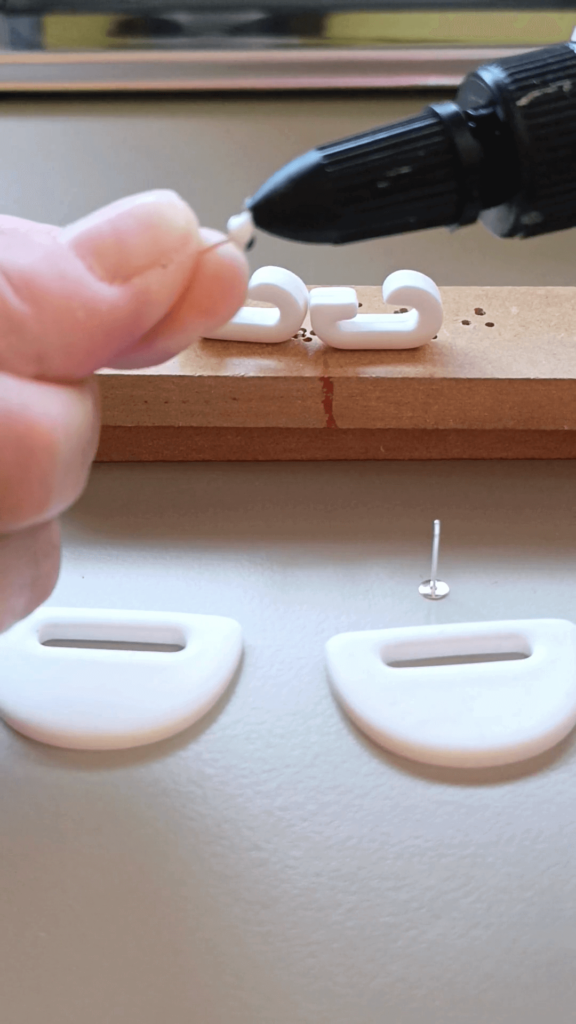

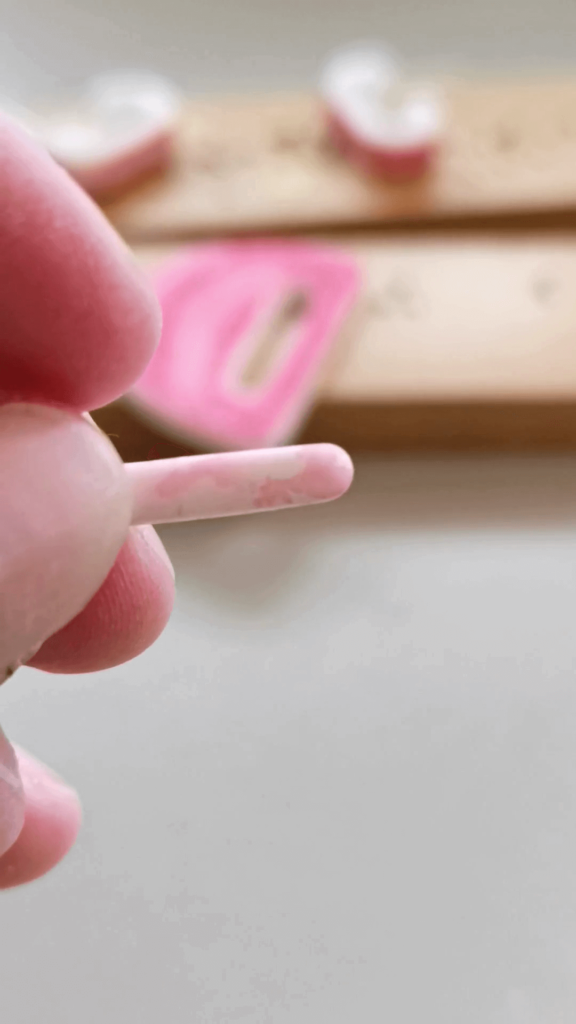
6) The next step is to position the surgical steel posts with a small drop of adhesive clay and a thin layer of the same clay as your earrings or in matching colors.
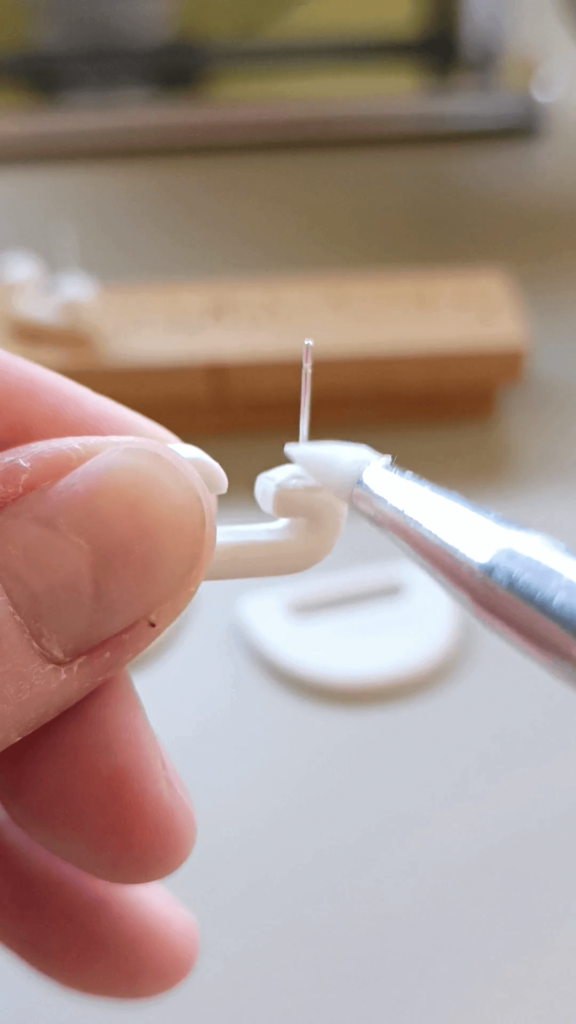

7) Use suitable tools such as these silicone brushes to even out any bumps. A good trick is, once you have done this, use a small piece of paper with a small hole in it (where you put the pin through) and turn the paper over the clay. This removes almost all the marks and fingerprints.
8) When you are satisfied with the finish and the posts are centered, put them back in the oven for another 15 minutes. When you remove them, let them cool and sand any imperfections or wipe them with a microfiber cloth with acetone. The result is amazing! They will never come off.
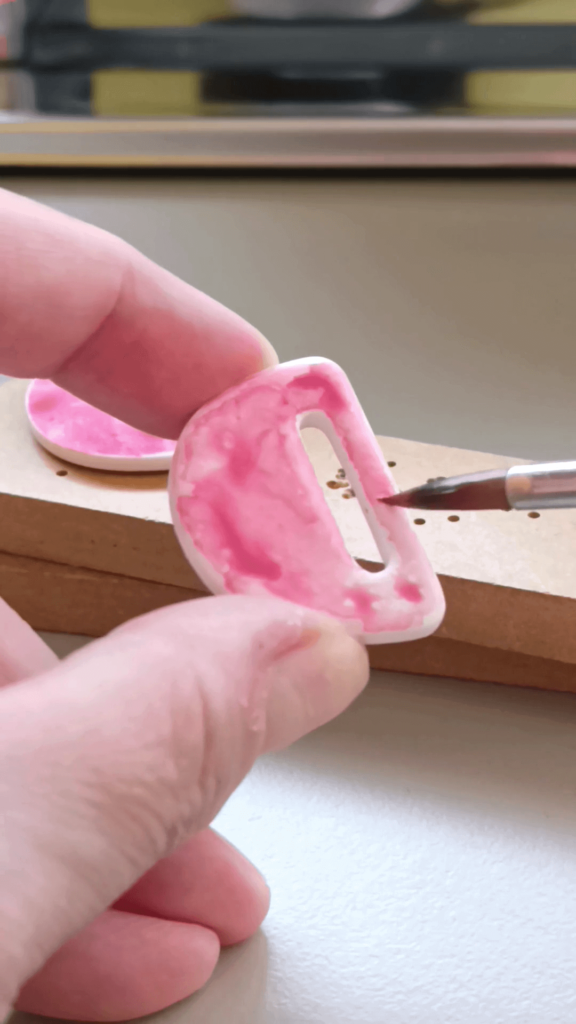
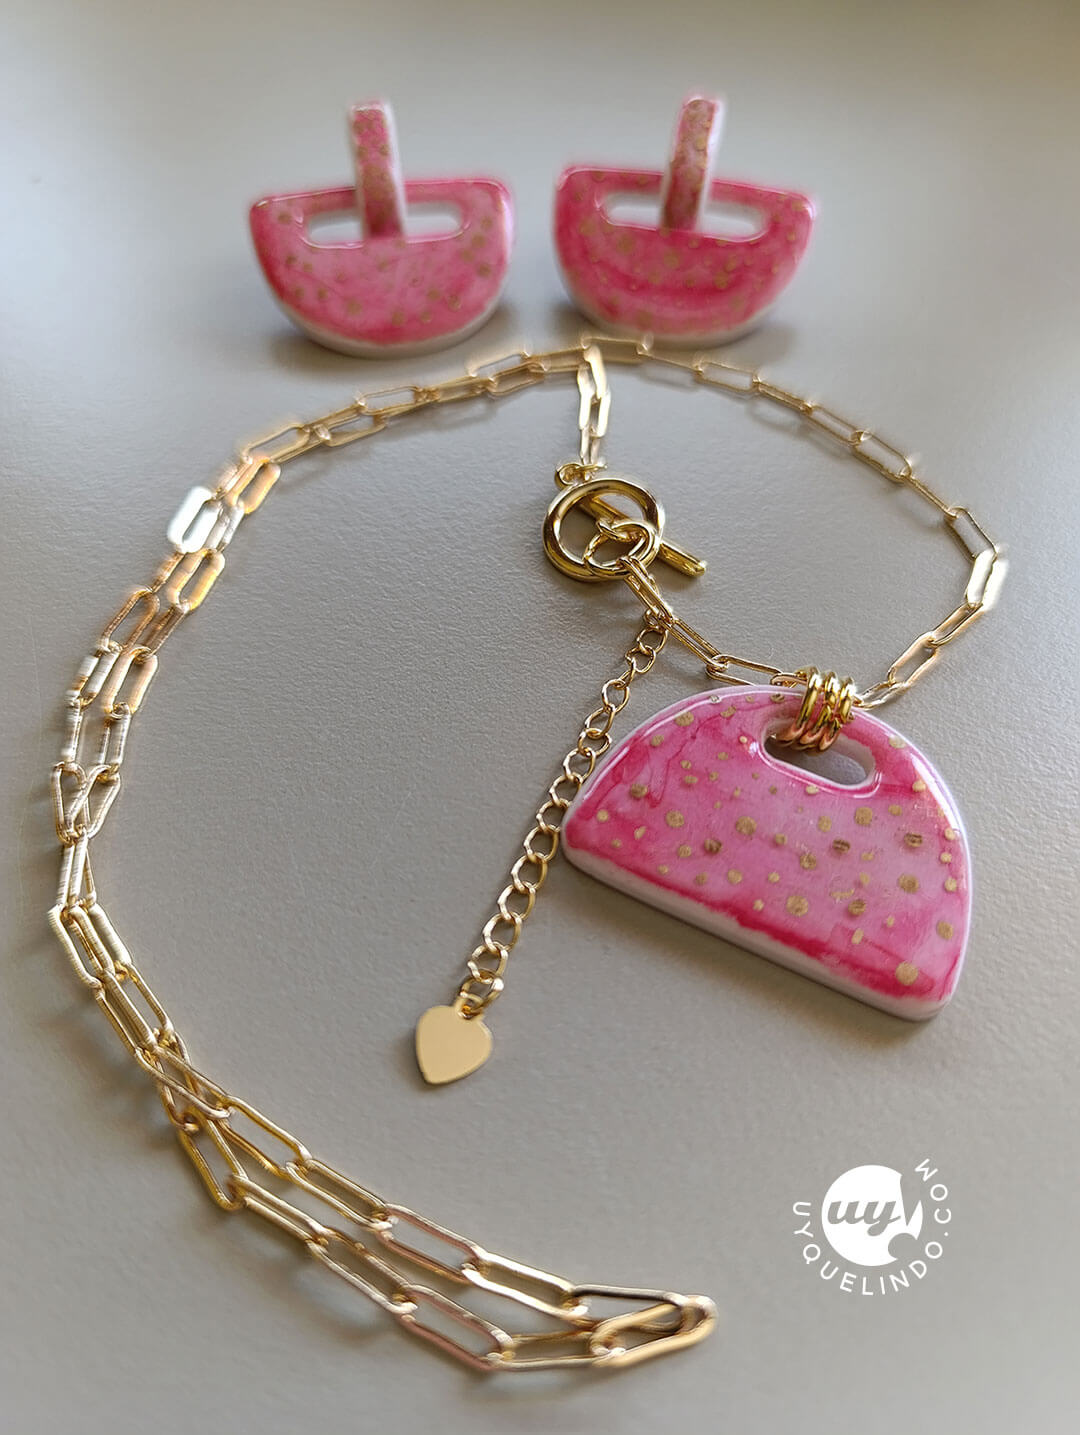
9) With all the pieces polished we are ready to paint. Watercolor is a medium that offers many possibilities and variants that with the addition of water or elements such as salt, you will obtain very chic compositions with a relaxed style, ideal for a summer and vacation collection. I wanted to obtain a reddish and juicy tone in the style of fruits, evoking them in an abstract way, but you can also experiment with very subtle tones or very low saturation pastels to achieve a minimalist and organic effect at the same time.
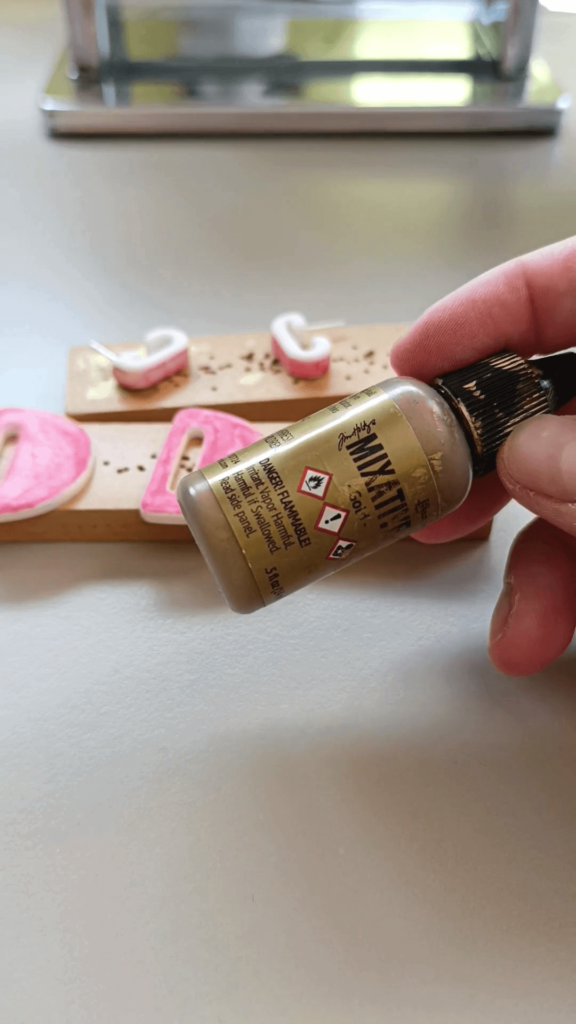

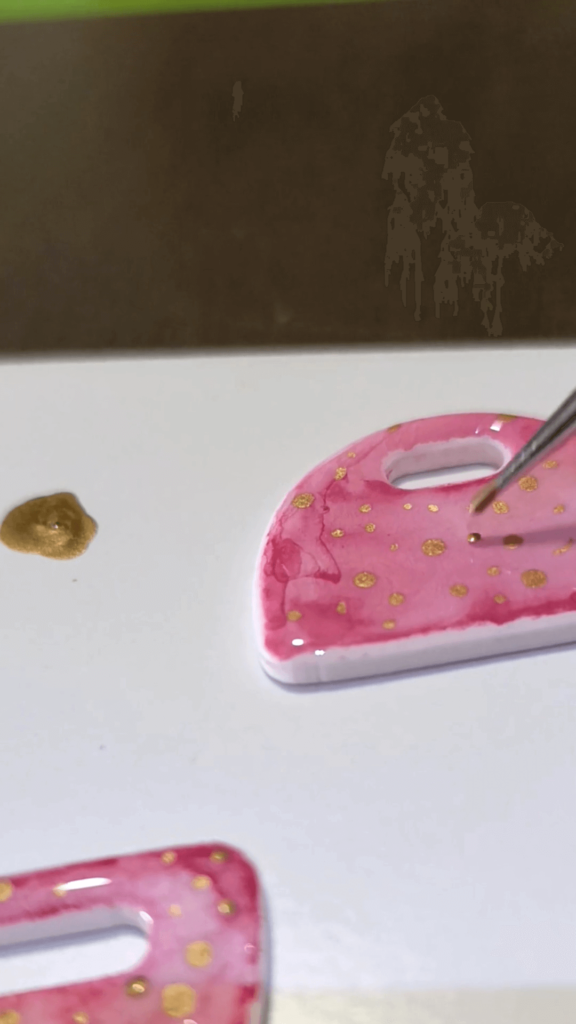
10) Playing with the organic but abstract effect I added some golden ink flecks that combined with layers of UV resin added a discreet but attractive volume. You can replace the ink with drops of toned resin of other colors, glitter and a thousand other things. Those games of transparency and color layers are very interesting.


- I always use UV resin and a manicure lamp. To apply it I take refuge in areas of the studio where there is no reach of sunlight, because the amount of UV rays in the environment can begin to thicken the resin leaving unwanted marks. This may seem like an exaggeration, but on the Costa del Sol it is not! I immediately pass the flame of a lighter over the uncured resin to remove trapped air bubbles and from there, I expose directly to the lamp at the lowest temperature setting, for the longest time. I can repeat the exposure process if necessary.
A sticky resin is the result of underexposure to light or an unbalanced catalyst mixture (in the case of two-component resins or EPOXY).

- It is always convenient to start glazing the back of the pieces and then devote all the attention to the front. This way you avoid accidents that can ruin the whole job.

11) When everything is cured I let it sit a while longer to make sure all the resin has reached the necessary hardness. Now it is time to prepare the tools such as ring opening pliers and the addition of chains, finishing hooks and any charm you want to add. I like these types of clasps because they are a piece in their own right and add a lot of contrast to the clay.

12) For the pendant of the necklace I have added 3 rings of 8 mm x 1.2 mm plated in 24K gold where the chain slides smoothly and provide a nice enhancement. The extension chain in this case I usually use it so that there are different proportions that the eye can go through and direct all the attention to the focal point that is our pendant. It is not a hanging object but a set of visually appealing elements that have their own narrative and optical play.

13) With the pieces of the earrings finished, all that remains is to fit them together, making sure that they are centered with respect to the hole of the drops. The hooks fit perfectly and do not move.
14) To finish I leave you the exact list of my materials, I hope you put it into practice and play with all the possibilities that our cutters try to bring to your hands. If you liked it a lot, you can stop by the store and get the beautiful Morph 12, which now, as I write this, deserve as many color variations as possible creativity games.
+ Cernit Number One clay, white.
+ UV Resin
+ Common watercolors
+ Alcohol-based gold ink
+ Soft round brush for surface and better if you have a liner for specks or fine lines.
+ Brush, stake or bobbin with silicon tip
+ Polishing tool
+ Baking Clay Adhesive
+ Morph cutter set 12
+ 14k gold plated steel chain of your choice 50 cms.
+ Toggle clasp or lobster lock
+ Chain extension
+ 4 jump rings of 8 x 1.2 mm (three for the earring and one for the necklace lock)
+ A number of 4/5/6 mm rings required to combine the joints with other charms or extenders
+ Time and delicacy. Use good materials that last over time and are resistant to external agents.
Save, share, experiment and leave me your message which I will gladly answer as soon as possible!
Did you find this little tutorial of the Morph 12 set useful? Do you have more questions? You can leave us your doubts in this form and we will add all that information to the FAQ'S in our special page. Follow our social networks to know the news we add!