Adopt methodologies
of work
The work methodologies are the sequences that you generate to organize your routine in a creative and productive way, both daily and weekly.
Order and efficiency in your polymer clay jewelry business!
In the world of polymer clay jewelry design and creation, order is key to maximizing productivity and achieving your goals. Properly organizing your work, tools, and parts will not only save you time, but also create a more effective workflow and maintain the quality of your creations.
Organization of your pieces
To have easy access and a clear display of your polymer clay pieces, it is essential to have a proper storage system. Consider using an organizer with individual compartments or boxes to sort and store your pieces by shape, size, or style. This will allow you to quickly find the parts you need and prevent possible damage or loss.
In addition, it is advisable to catalog your pieces in an album or folder with transparent pockets where you can place each piece in an orderly manner. Add details such as the gauge of the drilling and the metal joint or ring that each piece requires, especially for those of greater size or thickness that need larger joints. This will make it easier for you to quickly identify the characteristics of each piece and speed up the creation process.
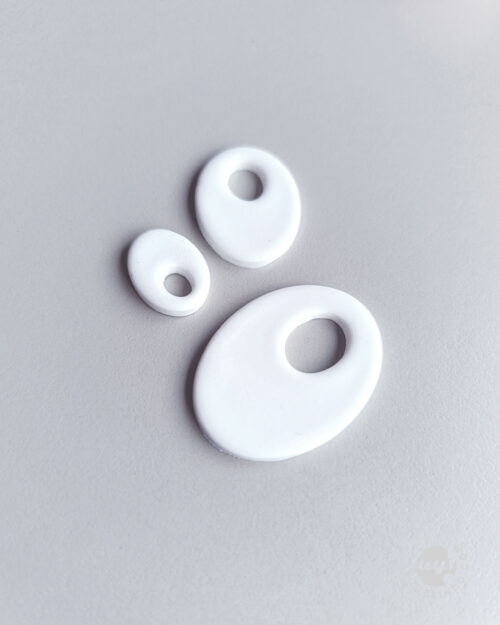
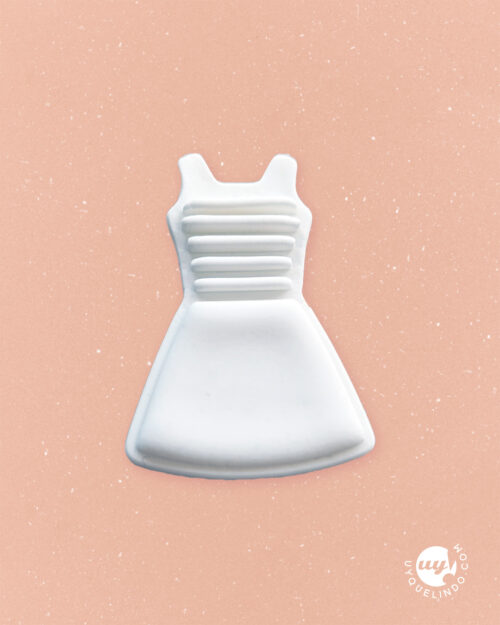
Personally, I separate a white fired piece from the ones I use as test pieces for the cutters and write down the SKU number behind it. That allows me to quickly locate the necessary tools. I also use these pieces as combinable tiles, I take photographs and in this way I scale the models to other new possibilities based on their combinatorics.
Organization of your polymer clay cutters
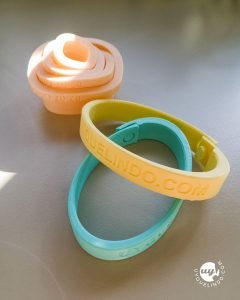
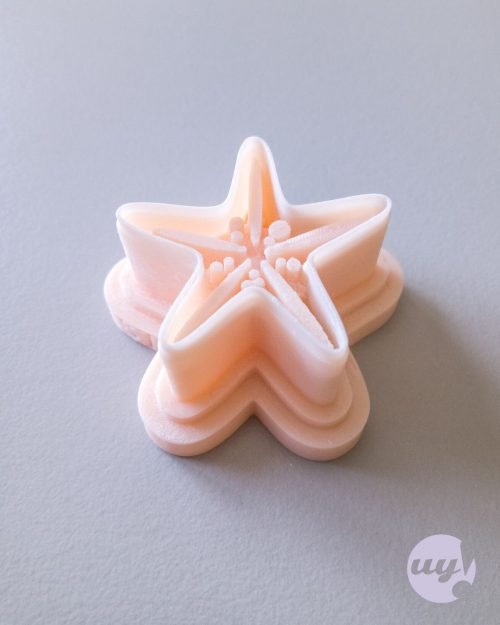
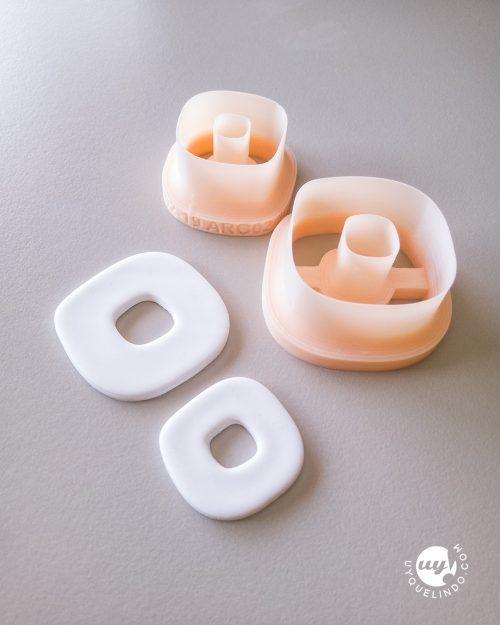
Polymer clay cutters are essential tools in your creative process. To keep them organized and protect their useful life, we recommend using a specific support or container for them. You can use an organizer with individual compartments or a case designed especially for cutters. This way, you'll keep them from getting damaged or lost, and you'll be able to find them easily when you need them.
In addition to keeping your cutters organized, it's important to take care of all your polymer clay tools to prolong their durability. After each use, be sure to clean them properly to prevent residue buildup and prevent deterioration. Use a soft cloth or wet wipes to clean the surfaces and be sure to dry them completely before storing. You can also apply a coat of baby oil to your metal tools to prevent rust.
Creating color formulas and proportions
The color palette is a fundamental aspect in the creation of polymer clay jewelry. To get consistent and reproducible results, it's important to use tools that allow you to create and register your color formulas. Here are some options:
– Use an accurate scale: You can use a digital scale to measure the exact proportions of the primary colors you will be mixing. This will help you get consistent colors and avoid having to rely on visual estimates.
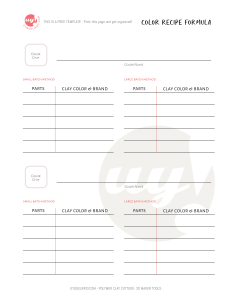
– Take note of the proportions: As you mix different colors of polymer clay, keep track of the proportions used. You can do this in a notebook or use note-taking apps on your mobile device. In this way, you will be able to replicate your formulas in future projects and achieve consistency in your designs.
How to use a portion cutter for polymer clay color blends
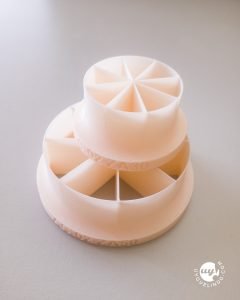
When it comes to creating accurate and consistent color blends in your polymer clay projects, using a portion cutter can be an invaluable tool. This handy device allows you to measure the exact amounts of each color of clay you need to get the desired ratio.
Next, I'll explain how to use this slicer effectively: mix them well and get a uniform texture.
1. prepare your colors: Before you begin, make sure you have your polymer clay colors ready to use. This involves conditioning and softening each color individually so that they are in a pliable and easy to work with state.
2.Select the size of the cutter: Portion cutters generally come in different sizes, allowing you to measure anything from small amounts to larger portions of clay. Choose the right size for the amount of mix you need.
3.Place the clay in the cutter: Take a piece of each color of clay you want to mix and place them inside the portion cutter. Be sure to press firmly so that the clay fits properly in the gap in the cutter.
4. Take note of the proportions: It is important to keep track of the proportions used in your color mixtures. You can write down the amounts of each color or even take a picture of the servings before mixing. This will help you reproduce the colors in future projects.
5. Use a pasta machine: If possible, use a paste machine to mix and condition the clay. Start with the highest thickness setting, which stretches the thinnest dough. This will make it easier to condition and mix the clay, saving time and effort.
6. Mix and condition: Once you have your portions of colors and have run the clay through the pasta machine, you can start mixing them together to get your desired shade. Knead and condition the clay mixture until the colors are fully integrated and you have a uniform texture.
Remember to adjust the pasta machine to lower thickness settings as you go through the mixing process for a smoother texture. Also, be sure to thoroughly clean your slicer after each use to keep it looking good and avoid color contamination.
– Buy pre-mixed color palettes: If you prefer to simplify the color mixing process, you can purchase pre-mixed color palettes at specialty stores. These palettes usually offer a wide range of shades that you can use directly in your creations.
Remember that when working with colors, you can also experiment and explore your creativity. Don't be afraid to try new combinations and discover your own color formulas.
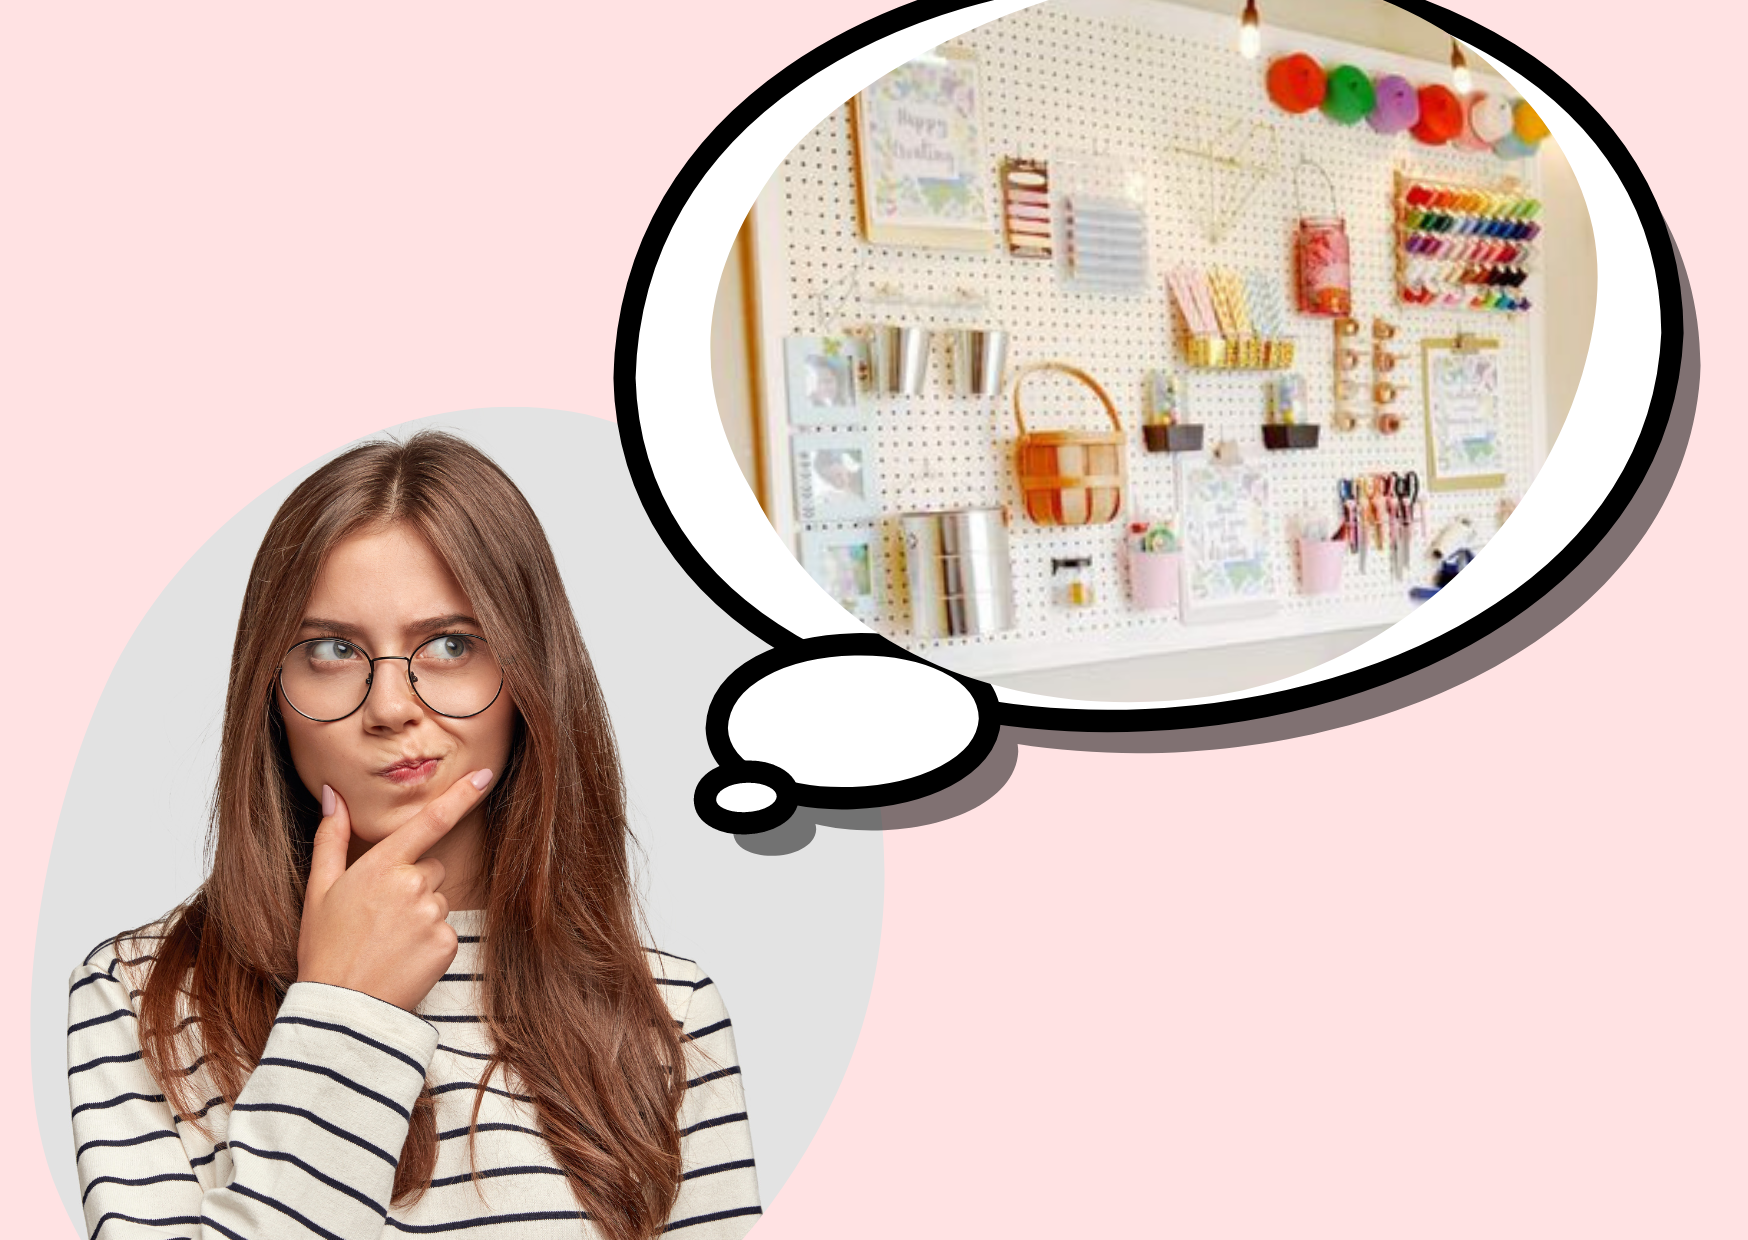
Craft rooms and organization ideas
In addition to the products mentioned, we offer you a wide variety of options to organize and display your jewelry creations that will soon be available:
Custom stamps: You will be able to add your logo or exclusive design to the packages and labels of your jewelry, creating a coherent and professional brand image.
Stickers: Decorate your gift boxes, shipping envelopes and packaging bags with personalized stickers that reinforce the identity of your business.
Thank you cards: Add a special touch to your shipments by including thank you cards with a personalized message for your customers.
tissue paper: Wrap your jewelry in tissue paper printed with your logo or design for an elegant and sophisticated presentation.
Posters and displays for fair stands: Prepare an attractive stand at fairs and events with personalized posters and displays that show your best pieces and attract the attention of visitors.
Banners and tablecloths: For special occasions, such as collection launches or promotional events, you can count on banners and tablecloths customized with your brand and prominent designs.
Custom logos: If you are looking for a unique visual identity, our team will be happy to help you design a logo that represents the essence of your business.
These are just a few examples of the materials that will be available soon. We want to make sure you have everything you need to organize, present and promote your jewelry creations with style and professionalism.
Stay tuned for our updates and news, soon you will be able to access all these products and take your jewelry business to the next level! 💎✨🎁

