honestamente hemos dejado un tiempo prudencial entre las mudanzas y vacaciones de verano para preparar, como anunciamos, un cambio importante. Mientras todo esto transcurría y el mundo se tornaba intenso, seguimos experimentando con nuevos materiales para nuestras joyas. Esto nos permitió optimizar procesos y ya revoloteando en aquello de las técnicas, se nos ocurrió como tantos incursionar en el mundillo del 3D, para fabricar nuestras propias herramientas, porque decidimos autoproclamarnos «makers» como toda una generación que durante bastante tiempo anduvo por allí haciendo garabatos, experiencias y mil intentos por ir conquistando pequeños saberes transferibles a bellos objetos. La consigna es no perderle el gusto a las tareas manuales.
Oh but how cute are these colors!
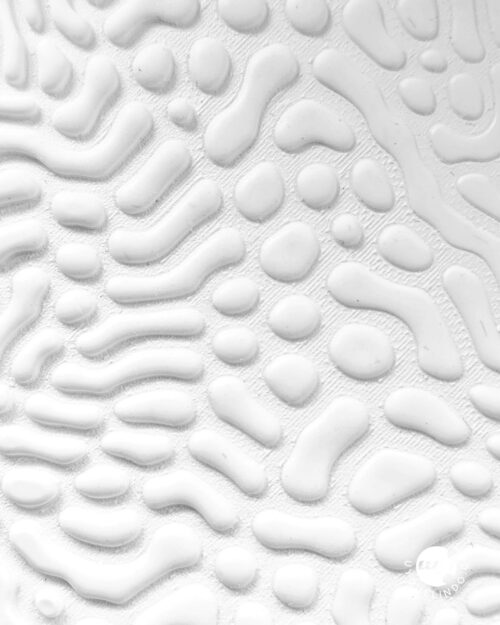
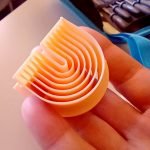
We decided to try polymer clay and some very versatile brands like Sculpey and Cernit. They make you want to have all the colors possible and fill cabinets and drawers to infinity and beyond.

Full executive support from engineering group
It really is a process to persevere and sustain, at times very entertaining and at others quite frustrating until suddenly...
to err is human
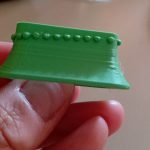
Yes, you get demoralized by the surprise, environmental factors, but you persevere, because YOU ARE PRINTING YOUR TOOLS!
From time to time you wake up
You should not lose focus on THAT DESIGN YOU HAVE IN MIND and at any moment it will come to light.

Or you scatter with the periphery
– Oh my god what a summer!
– Well, let's make another ring of beads but this time…
And finally you progress
Everything is there where you once left it. So get ready, the collections and our tools are here so you can experiment. We did it!
As will be?
Good materials to facilitate your work
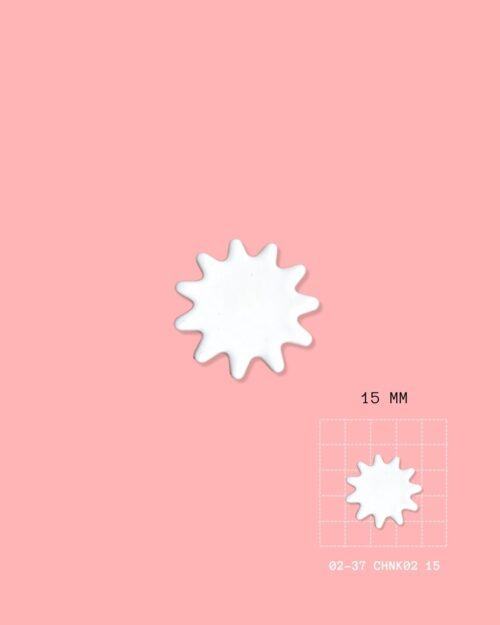
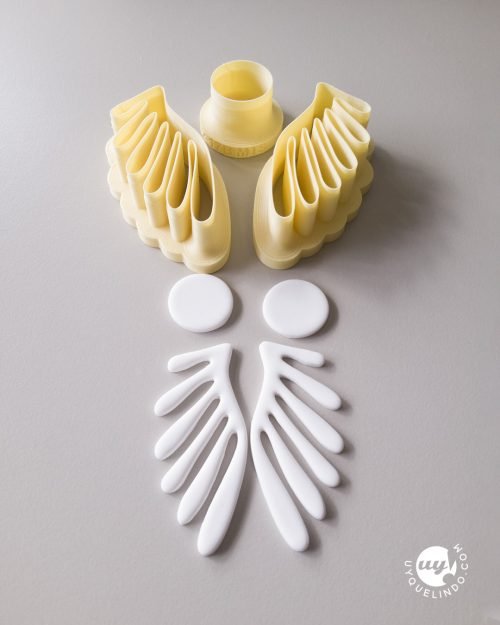
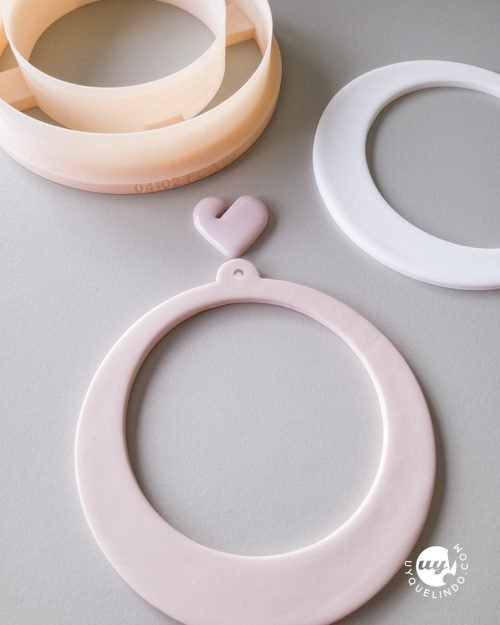
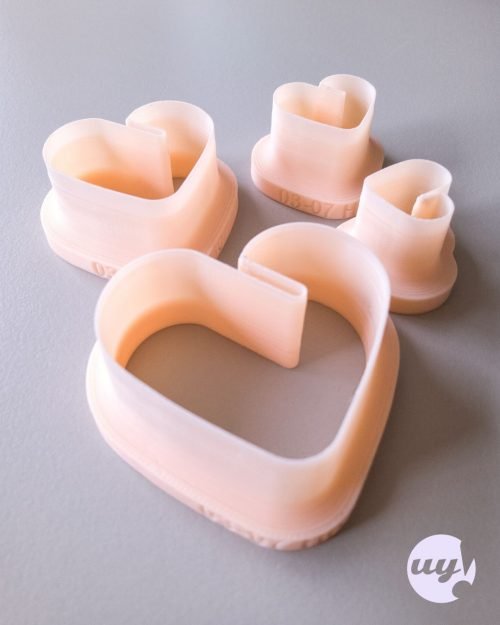
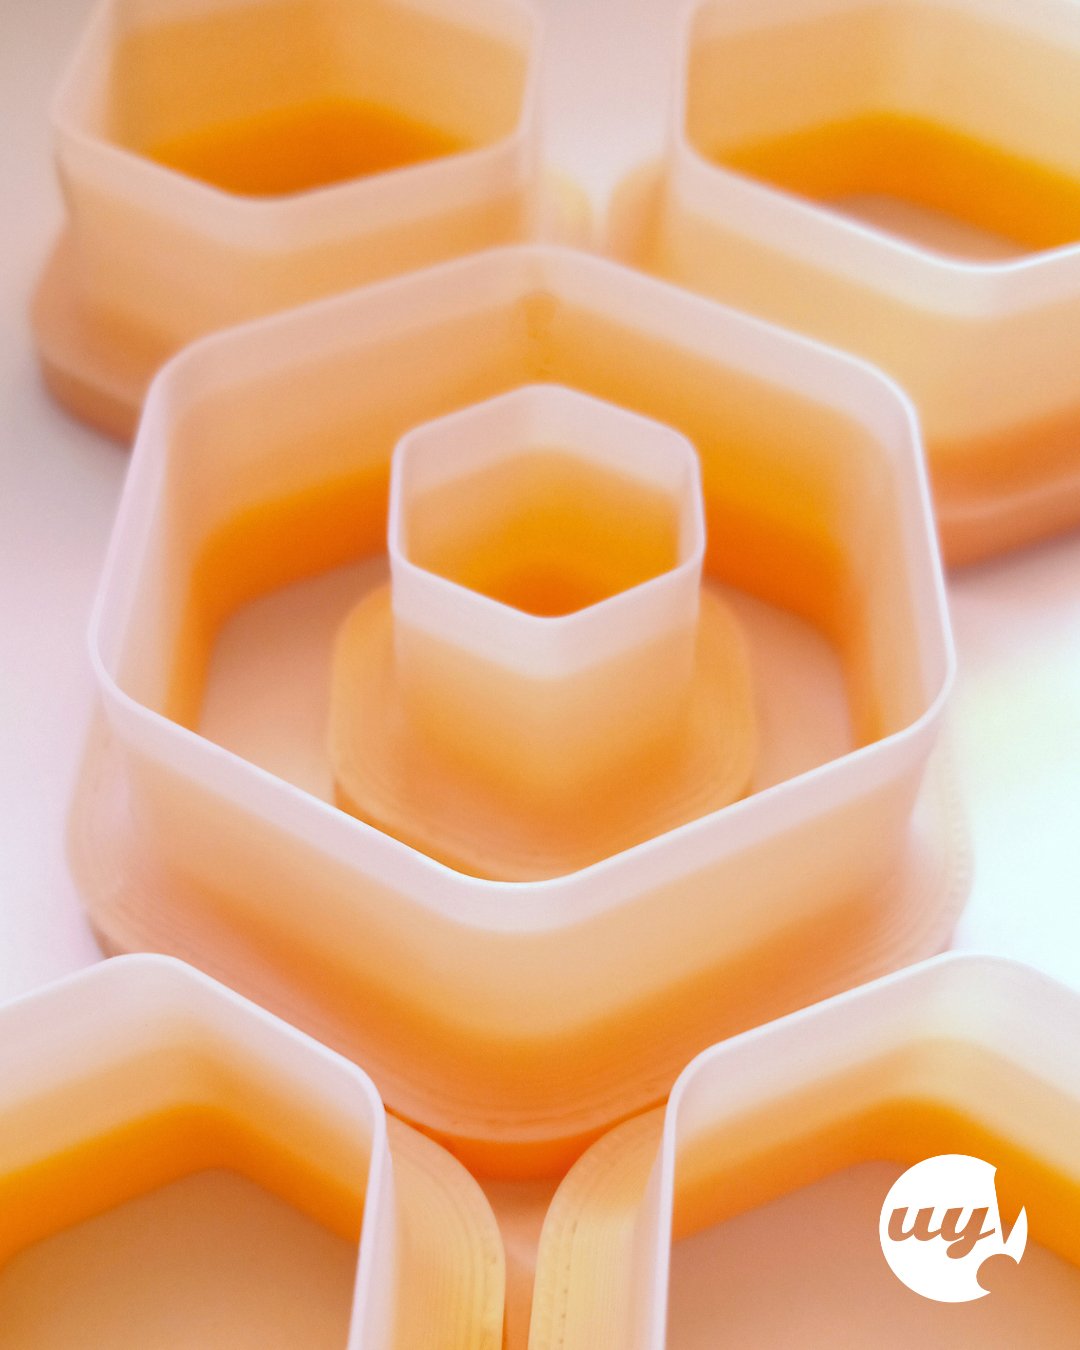
We managed to reduce the time for polishing the pieces and therefore the amount of material that is wasted, scattered everywhere. Our cutters have ultra-thin but strong edges: just make sure you spread the clay on a glass, tile or very smooth surface of a material that can be baked in the oven. This also allows the back of the pieces to be completely regular and you do not have to remove fingerprints or other dirt that usually adheres during handling with chemicals.
In the case of cutters that stamp and cut at the same time, or those that have intricate shapes, we leave you some tips that if you implement them will definitely change the way you work.
- Use guidelines to get an even thickness of the clay when rolling it out, or use your pasta machine.
- Work on a perfectly clean tile and make sure that the mass has adhered to the surface.
- Place a white sheet of paper on top of the dough and roll it over again, this removes any marks.
- Dip the cutter in cornstarch and tap off the excess with a brush or simply tap it. This is our favorite method, but you can spray with a very fine spray of water before cutting, or dampen the edges of the cutter in a sponge soaked in soapy water.
- Position the cutter and push just enough to score the outline without cutting or stamping.
- Place the cutter on the mark again and repeat the operation, now you will be able to mark the mass.
- Finally bring the cutter all the way in and move it around slightly before withdrawing, making sure to press down on both the outlines and internal marks if any. You need to review by pressing.
- Pull up and voila!
This procedure is especially favorable for mini cutting, intricate ones and those that also stamp.
Any questions leave us a message on our WhatsApp.